> ## Documentation Index
> Fetch the complete documentation index at: https://docs.speckle.systems/llms.txt
> Use this file to discover all available pages before exploring further.
# Create an Automate function
> Step-by-step guide to creating Speckle Automate functions using the function creation wizard. Learn how to authorize GitHub, choose templates, define function metadata, and set up your development environment for building custom automation workflows.
If you have a verified account on [app.speckle.systems](https://app.speckle.systems), navigate to a Workspaces-hosted project where you are a collaborator. Go to the Automations tab and select View Functions to see your team's existing functions. To create a new function, click New Function in the top right:
 This launches the function creation wizard.
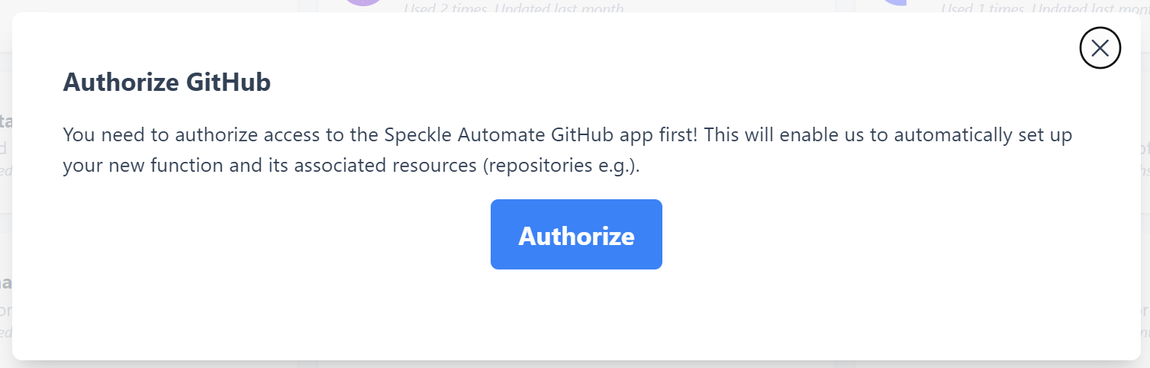
Required only the first time.
This launches the function creation wizard.
Required only the first time.
 💡 **Authorized OAuth Apps**
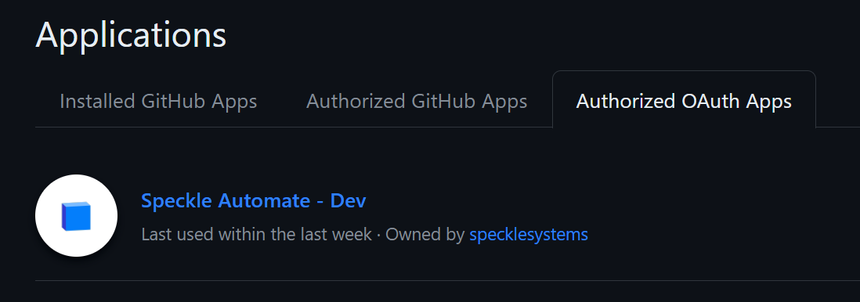
Speckle Automate will appear under your GitHub account's Authorized OAuth Apps. Access can be revoked at any time, but it is necessary to publish new functions.
💡 **Authorized OAuth Apps**
Speckle Automate will appear under your GitHub account's Authorized OAuth Apps. Access can be revoked at any time, but it is necessary to publish new functions.
 We currently offer Python and C# templates, reflecting our best-supported SDKs (**specklepy** and
**speckle-sharp**). Each includes the Automate SDK for its respective language.
Some details can be edited later:
* **Avatar/Logo/Icon** \[optional]: Displayed in the functions list.
* **Name** \[required]: Does not need to be unique. Use a descriptive name to help identify the function and its purpose, e.g., `SolarFarmLayout by SolarCorp`.
* **Description** \[required]: A short Markdown-supported description used in the functions list.
* **Source Application Data Supported** \[optional]: Indicate which source applications your function is designed for.
* **Tags** \[optional]: You can further categorise your function with single or multi-word tags, e.g., `Solar_Panels`.
* **Organisation**: Within Github, if your team works within an organisation, you can select that here.
* **Click Next**: The wizard will create your function project on GitHub.
🧙♂️ **Wizard Actions**
The wizard handles scaffolding for you:
* Clones the template project into your repositories.
We currently offer Python and C# templates, reflecting our best-supported SDKs (**specklepy** and
**speckle-sharp**). Each includes the Automate SDK for its respective language.
Some details can be edited later:
* **Avatar/Logo/Icon** \[optional]: Displayed in the functions list.
* **Name** \[required]: Does not need to be unique. Use a descriptive name to help identify the function and its purpose, e.g., `SolarFarmLayout by SolarCorp`.
* **Description** \[required]: A short Markdown-supported description used in the functions list.
* **Source Application Data Supported** \[optional]: Indicate which source applications your function is designed for.
* **Tags** \[optional]: You can further categorise your function with single or multi-word tags, e.g., `Solar_Panels`.
* **Organisation**: Within Github, if your team works within an organisation, you can select that here.
* **Click Next**: The wizard will create your function project on GitHub.
🧙♂️ **Wizard Actions**
The wizard handles scaffolding for you:
* Clones the template project into your repositories.
 * Creates a GitHub action (`.github/workflows/main.yml`) for build and deployment.
 * Injects API interaction environment variables (`SPECKLE_FUNCTION_ID` and `SPECKLE_FUNCTION_TOKEN`).
 The function wizard creates a private GitHub repository under your account.
* **Public vs Private**: Whether you keep this repository private or make it public depends on your team's open-source or source-available development approach. Speckle Automate supports both public and private repositories.
* **Personal or Organisational Accounts**: Depending on your setup and collaboration needs, you can publish functions from your GitHub account or an organisation's account. Your published function can also be moved from one to the other.
💡 **Important**
Carefully manage repository access based on your team's workflows and requirements.
Once created, the function template can be edited and tailored to your business logic.
The function wizard creates a private GitHub repository under your account.
* **Public vs Private**: Whether you keep this repository private or make it public depends on your team's open-source or source-available development approach. Speckle Automate supports both public and private repositories.
* **Personal or Organisational Accounts**: Depending on your setup and collaboration needs, you can publish functions from your GitHub account or an organisation's account. Your published function can also be moved from one to the other.
💡 **Important**
Carefully manage repository access based on your team's workflows and requirements.
Once created, the function template can be edited and tailored to your business logic.
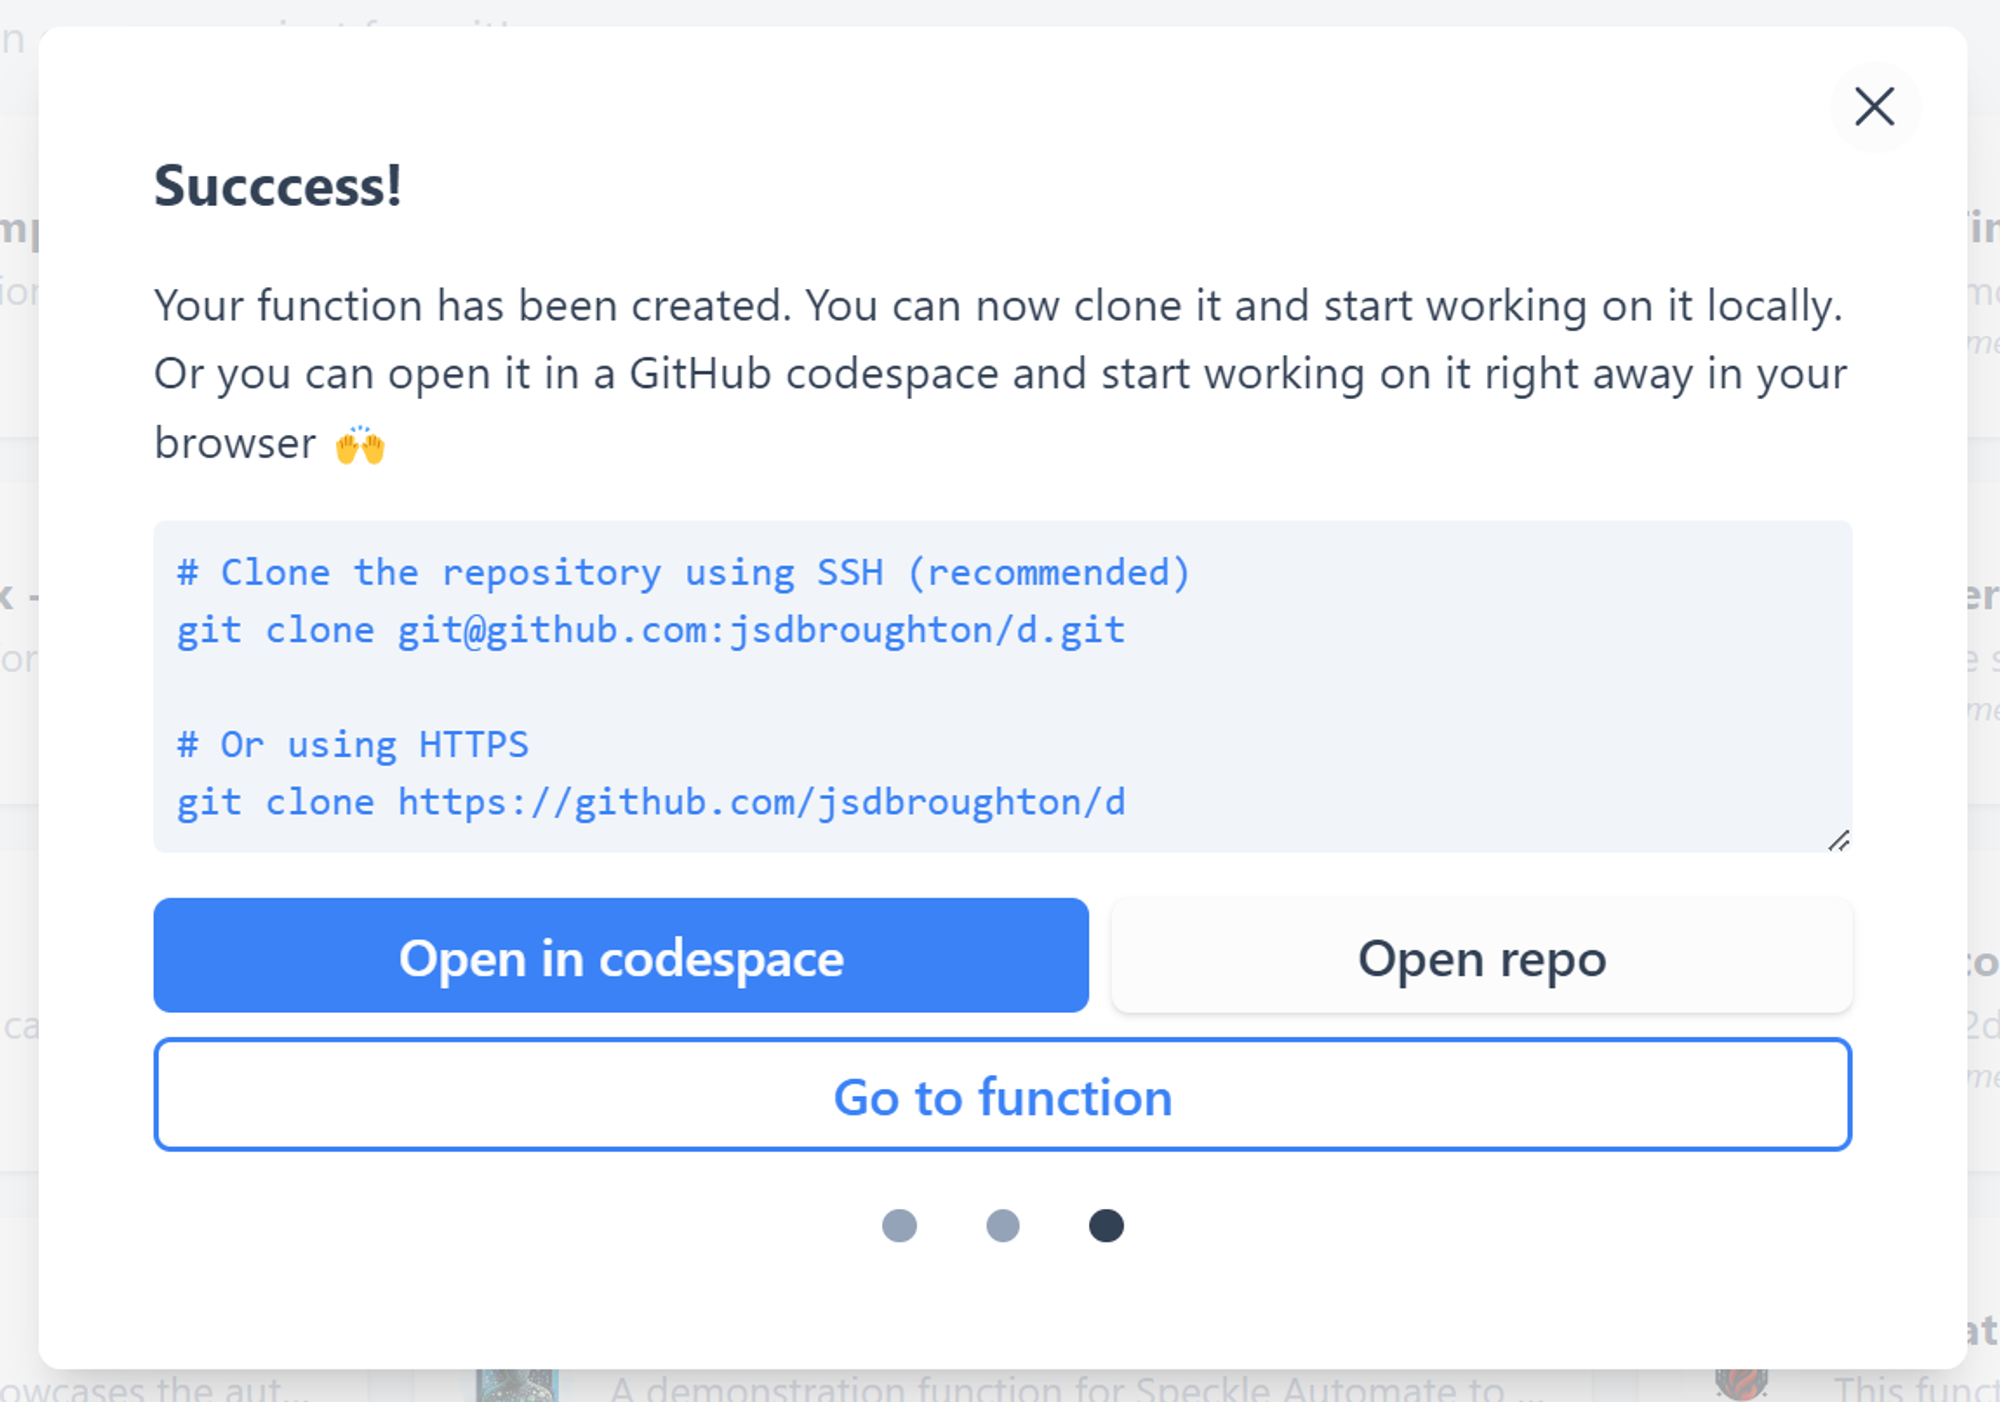 From the success page, you can:
* **Open the Repository**: View the project on GitHub.
* **Open in Codespace**: Start coding immediately in a virtual environment. Remember to push changes back to GitHub.
* **Go to Function**: Navigate to your function's page within Speckle Automate.
After making the first release on GitHub, your function will only appear in the Functions Library.
With these steps, your function is ready for further development, automation, and collaboration!
From the success page, you can:
* **Open the Repository**: View the project on GitHub.
* **Open in Codespace**: Start coding immediately in a virtual environment. Remember to push changes back to GitHub.
* **Go to Function**: Navigate to your function's page within Speckle Automate.
After making the first release on GitHub, your function will only appear in the Functions Library.
With these steps, your function is ready for further development, automation, and collaboration!