Notice: This user guide is based on the legacy connector.
We recommend using our new connectors instead, as they are easier to use and actively maintained. This legacy documentation may not be up to date.
We recommend using our new connectors instead, as they are easier to use and actively maintained. This legacy documentation may not be up to date.
Legacy Speckle supports versions:
Advanced Settings page allows you to customize the way Speckle behaves “per-project”.
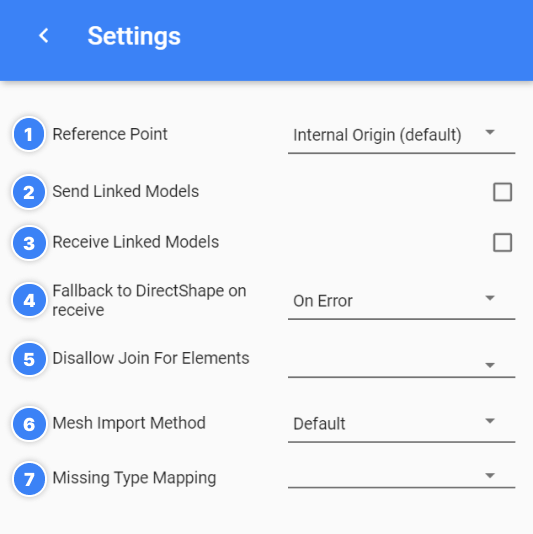
1. Reference Point
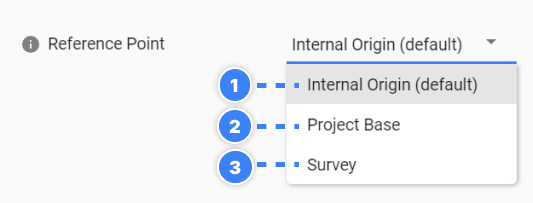
- Internal Origin (default)
- Project Base point
- Survey Point
2. Send linked models
By default, Speckle will only send data from the current model, without including any elements from any Linked Models (if they exist). Check this option to control when you want to send all the information including Linked models.3. Receive linked models
By default, Speckle will only receive data from the current model, without including any elements from any Linked Models (if they exist). Check this option when you want to receive all the information (including Linked models).4. Fallback to DirectShape on receive
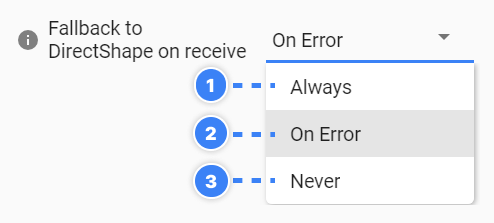
- Always: No native objects are created; everything is created as direct shapes with categories and materials assigned.
- On Error (Default): Revit Connector tries to bring all objects as native types but in case of an error falls back to DirectShape mesh. This result is then visually consistent model with its rendering in Speckle viewer.
- Never: If you want to load all objects as native, choose the
Neveroption.
Some objects might not be loaded, or the geometry might not be correct. Speckle’s aim is to support all types and workflows but while we get there, some inconsistencies can occur.
5. Disallow join for elements
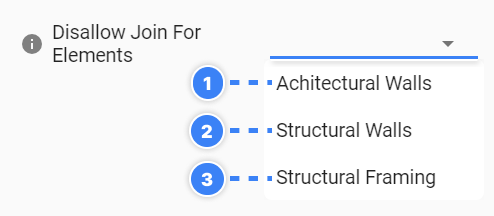
- Architectural Walls
- Structural Walls
- Structural Framing
6. Mesh import method
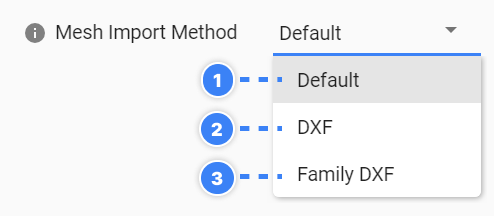
- Default: Speckle will convert any Meshes into Revit native meshes (DirectShapes), leading to them appearing with all their internal edges. This may not be desired depending on the geometry and density of the mesh.
- DXF: To import meshes without the inner edges, you can select the
DXF Importoption. This will export the mesh intoDXFformat, and import it into your project. This way of exporting will also preserve colors and materials whenever possible. - Family DXF: The third option is similar to the second, but it will insert the resulting DXF into a new Family document, that will then be inserted into the project.
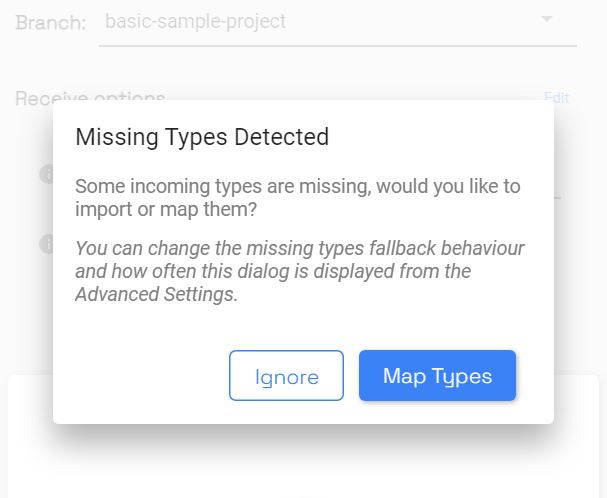
7. Missing type mapping
By default, Speckle will attempt to match your incoming Speckle objects with native Revit objects. It does this by trying to match theCategory, Family, and Type properties of the Speckle object. This works well if you are importing standardized objects such as structural sections.
Suppose an object with a type “W12x19” is added to a Revit project. Speckle can easily recognize this object and match it to a type with the same name in the Wide Flange family, provided that family type is loaded in the project. If there isn’t a family type loaded into Revit of the correct category and type , then Speckle will make its best guess of which object type to match to.
To avoid this, you can use the object type mapping setting.
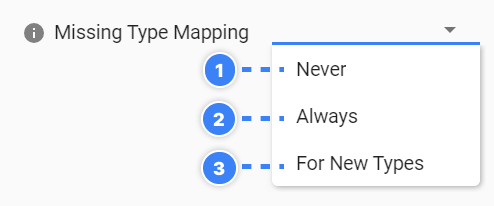
- Never: Speckle automatically handles all the mapping for you.
- Always: Upon receiving a model version, you’ll be presented with a table of incoming object types and the opportunity to assign a Revit type.
- For New Types: Upon receiving a model for the first time, you will be presented with a table that displays all incoming types. You can then map these types to the corresponding types in the Revit application, similar to the previous option. However, if you receive a newer version of the same model for a second time, the mapping dialog will only appear if there are new incoming types that the user has not yet mapped. If the next version has the same object types as the first, the previous custom mapping will be used, and you won’t need to remap incoming types.
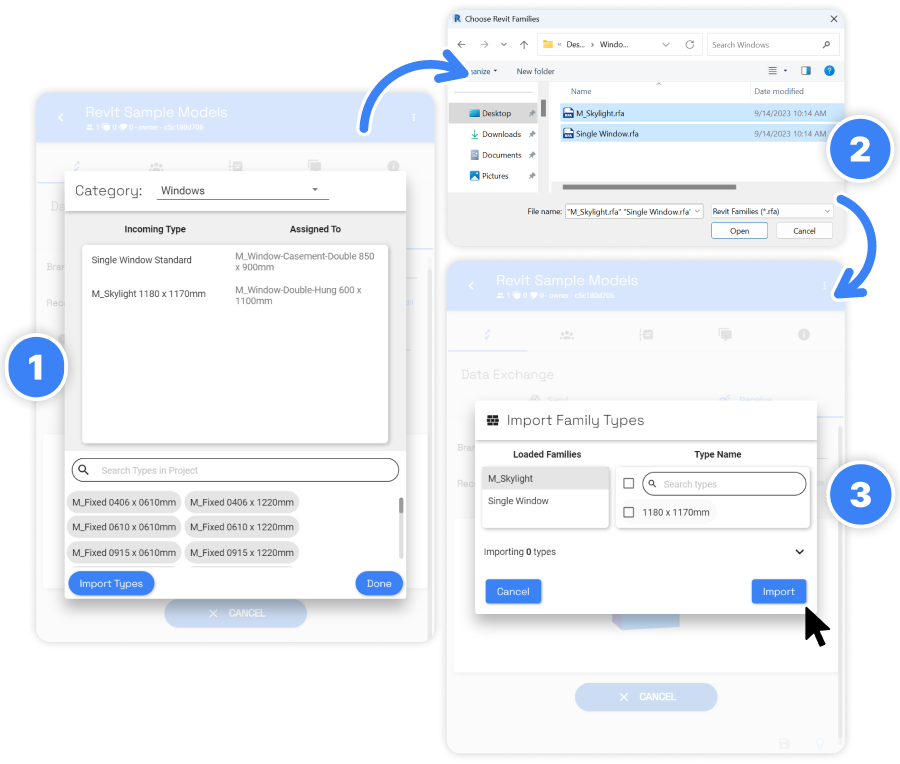
Importing external families and types