Documentation Index
Fetch the complete documentation index at: https://docs.speckle.systems/llms.txt
Use this file to discover all available pages before exploring further.
Setup
Install the connector
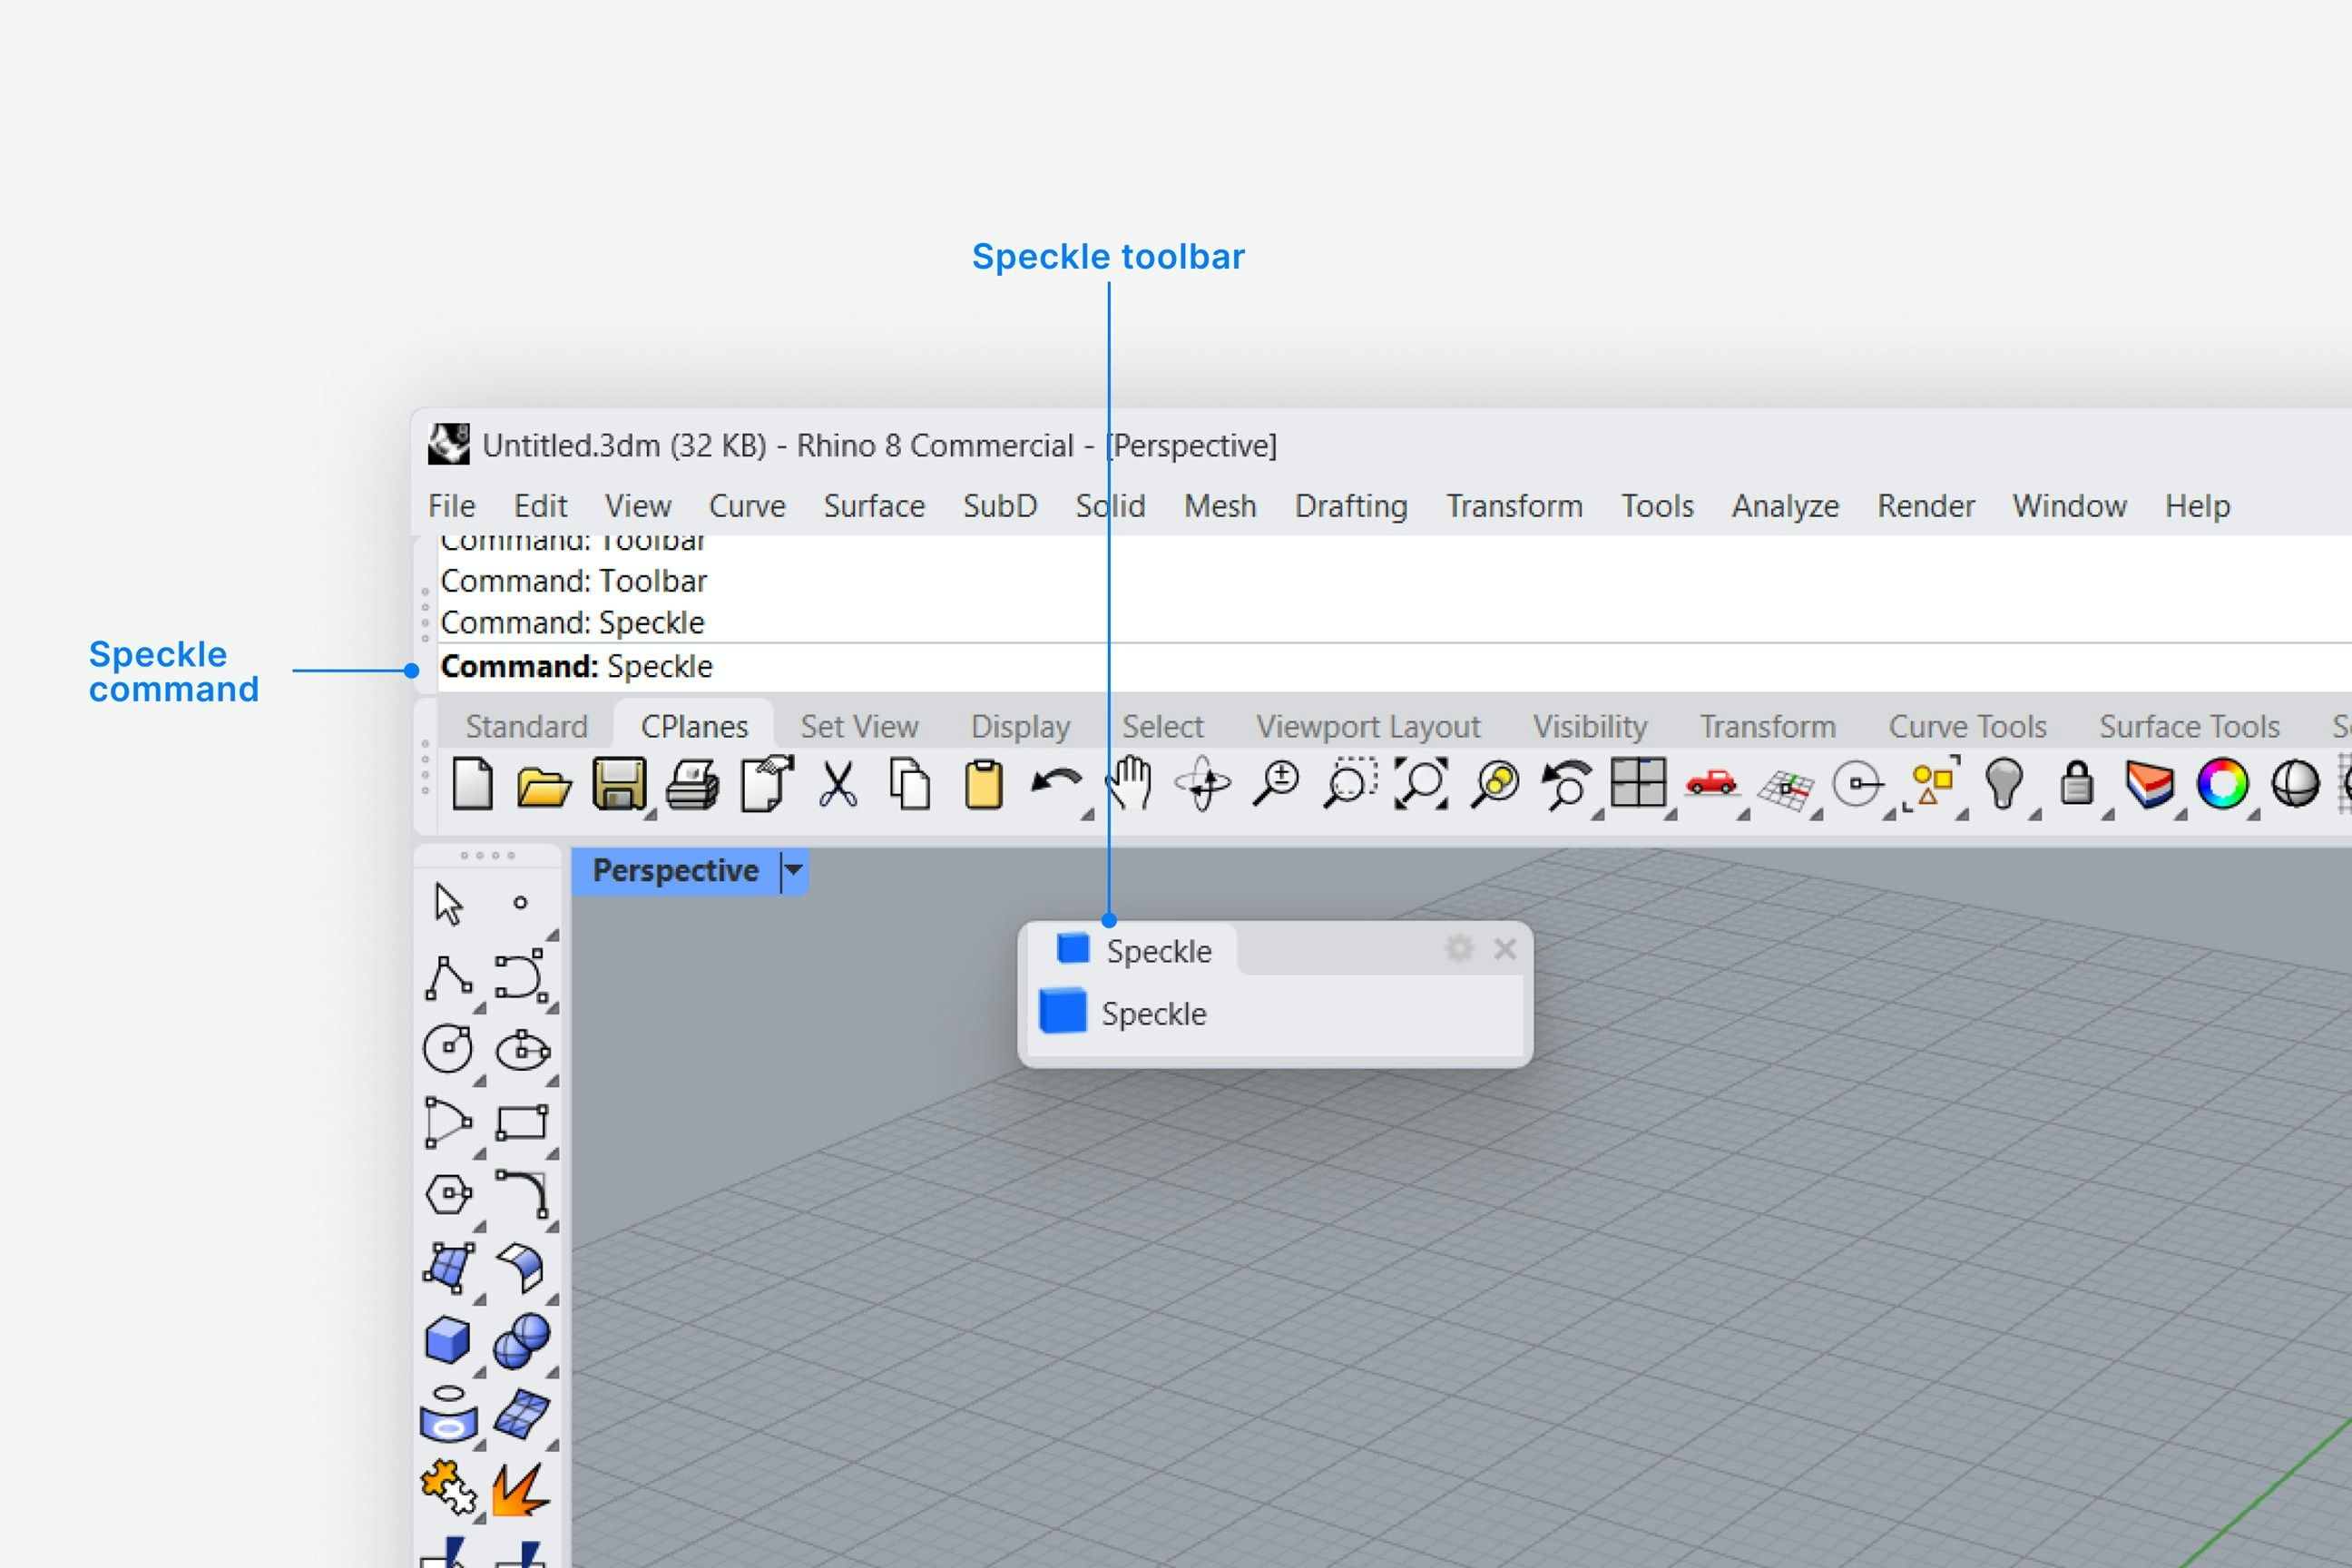
Where is the Speckle toolbar in Rhino?
Where is the Speckle toolbar in Rhino?
- Type the Toolbar command in Rhino.
- Select File > Open and navigate to your Rhino UI folder:
AppData\Roaming\McNeel\Rhinoceros\7.0\UI\Plug-ins - Select the Speckle.Connectors.Rhino.rui file and press Enter.
I'm getting a framework compatibility error or a black connector window
I'm getting a framework compatibility error or a black connector window
- Type the SetDotNetRuntime command in Rhino
- Select the NETFramework option
- Restart Rhino
Why is the Speckle plugin not showing up after I installed the connector?
Why is the Speckle plugin not showing up after I installed the connector?
- Make sure your version of is one of the supported versions.
- Uninstall and reinstall your connector.
.exe or right-clicking and then selecting Open to run the installer.
Installation issues can also be caused by conflicting plugins.If you’re still experiencing problems, please report it in our Community Forum and include the following information:- Your application version
- Your Speckle connector version
What should I do if the plugin UI is empty or unresponsive, or if my application crashes?
What should I do if the plugin UI is empty or unresponsive, or if my application crashes?
log file in your directory at AppData\Roaming\Speckle\Logs.
Please report your problem in our Community Forum and include the following information:- Your application version
- Your Speckle connector version
- A copy of the log
Why can't I add a new account?
Why can't I add a new account?
How do I uninstall my connector?
How do I uninstall my connector?
Applications. For a full uninstall, you should also remove Speckle Desktop Services as well as your Speckle connector.How do I update my connector to the latest version?
How do I update my connector to the latest version?
Publishing a Model
What types of Rhino elements can I publish to Speckle??
What types of Rhino elements can I publish to Speckle??
hatch, text, and blocks. Each published object contains the following information:- Name
- Color
- Render material
- User strings
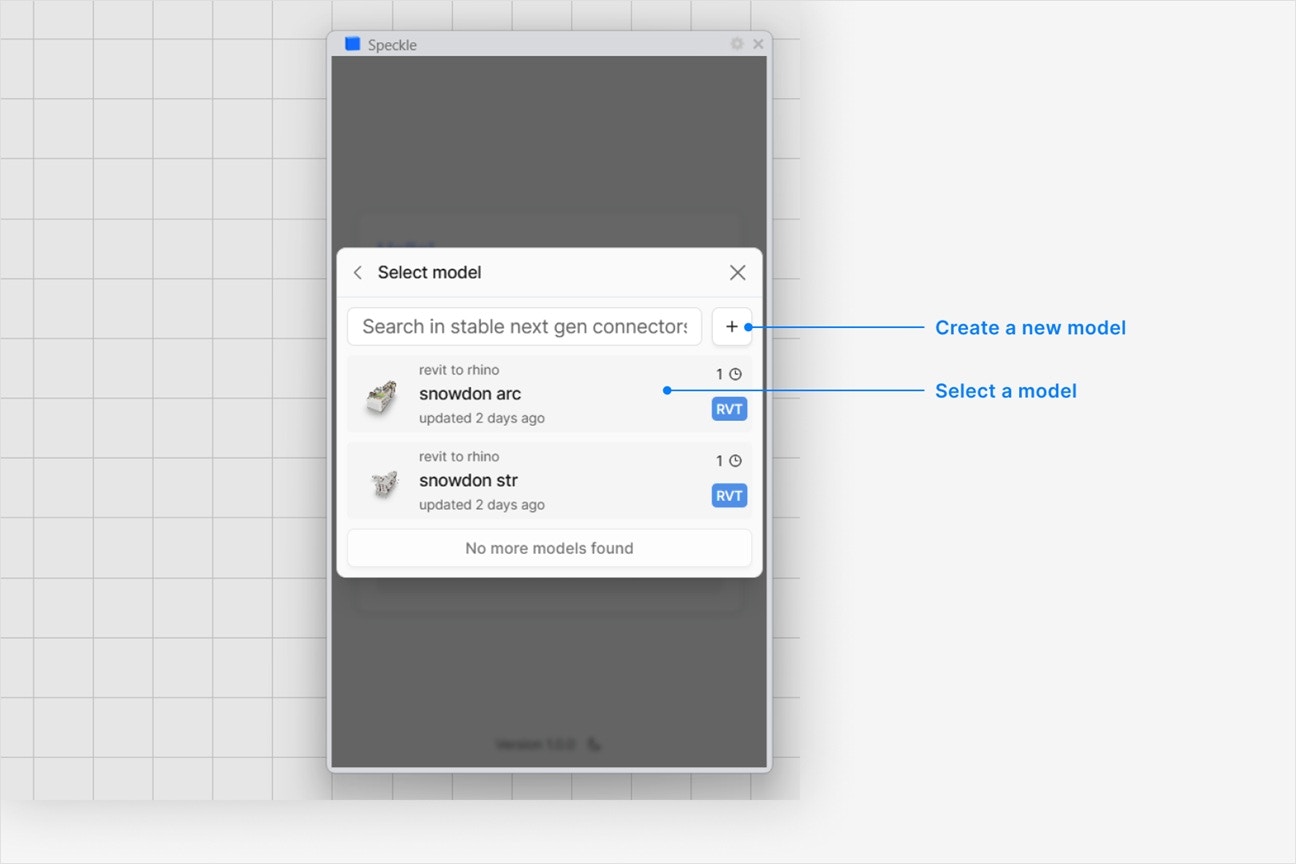
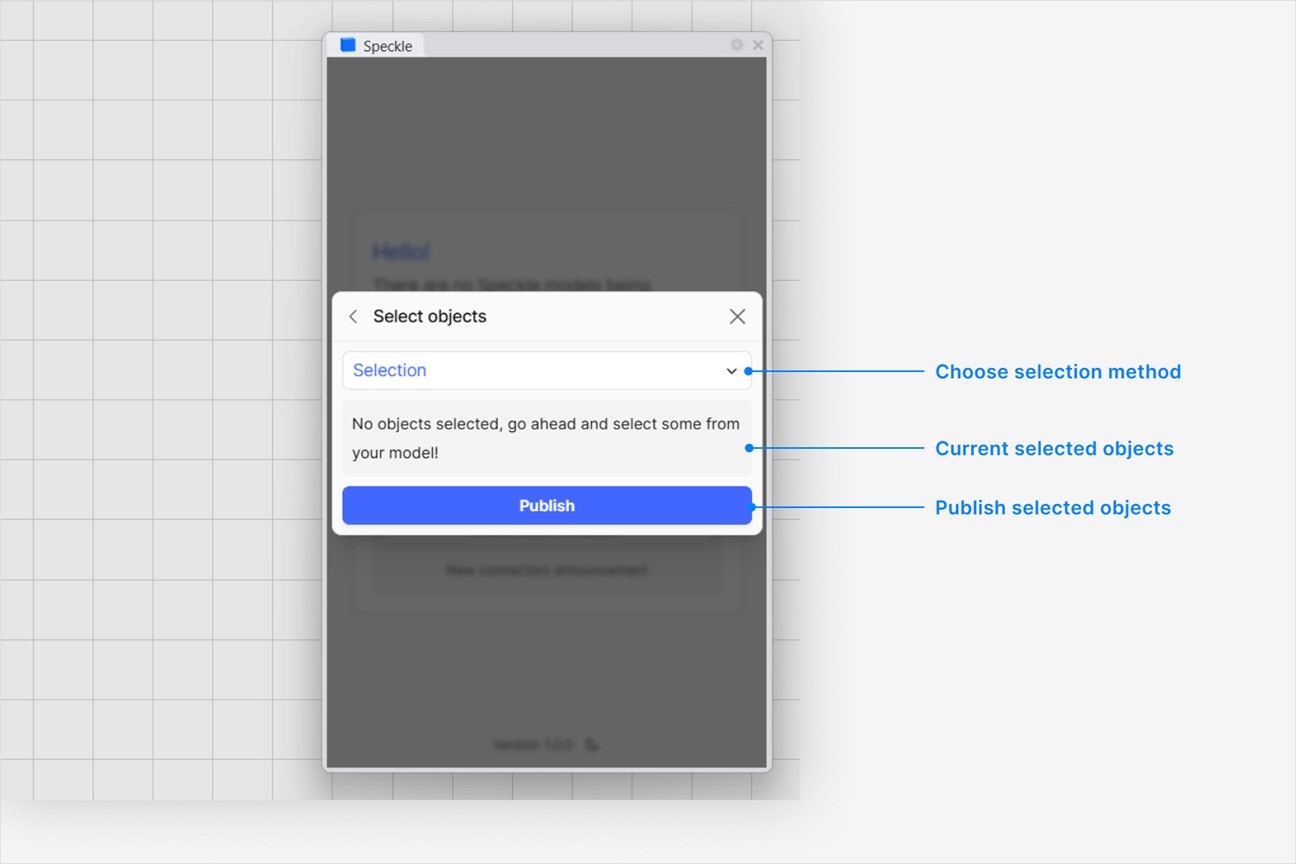
How do I publish models from Rhino layers?
How do I publish models from Rhino layers?
- Click the blue filter field at the top of Select objects dialog while publishing a new version.
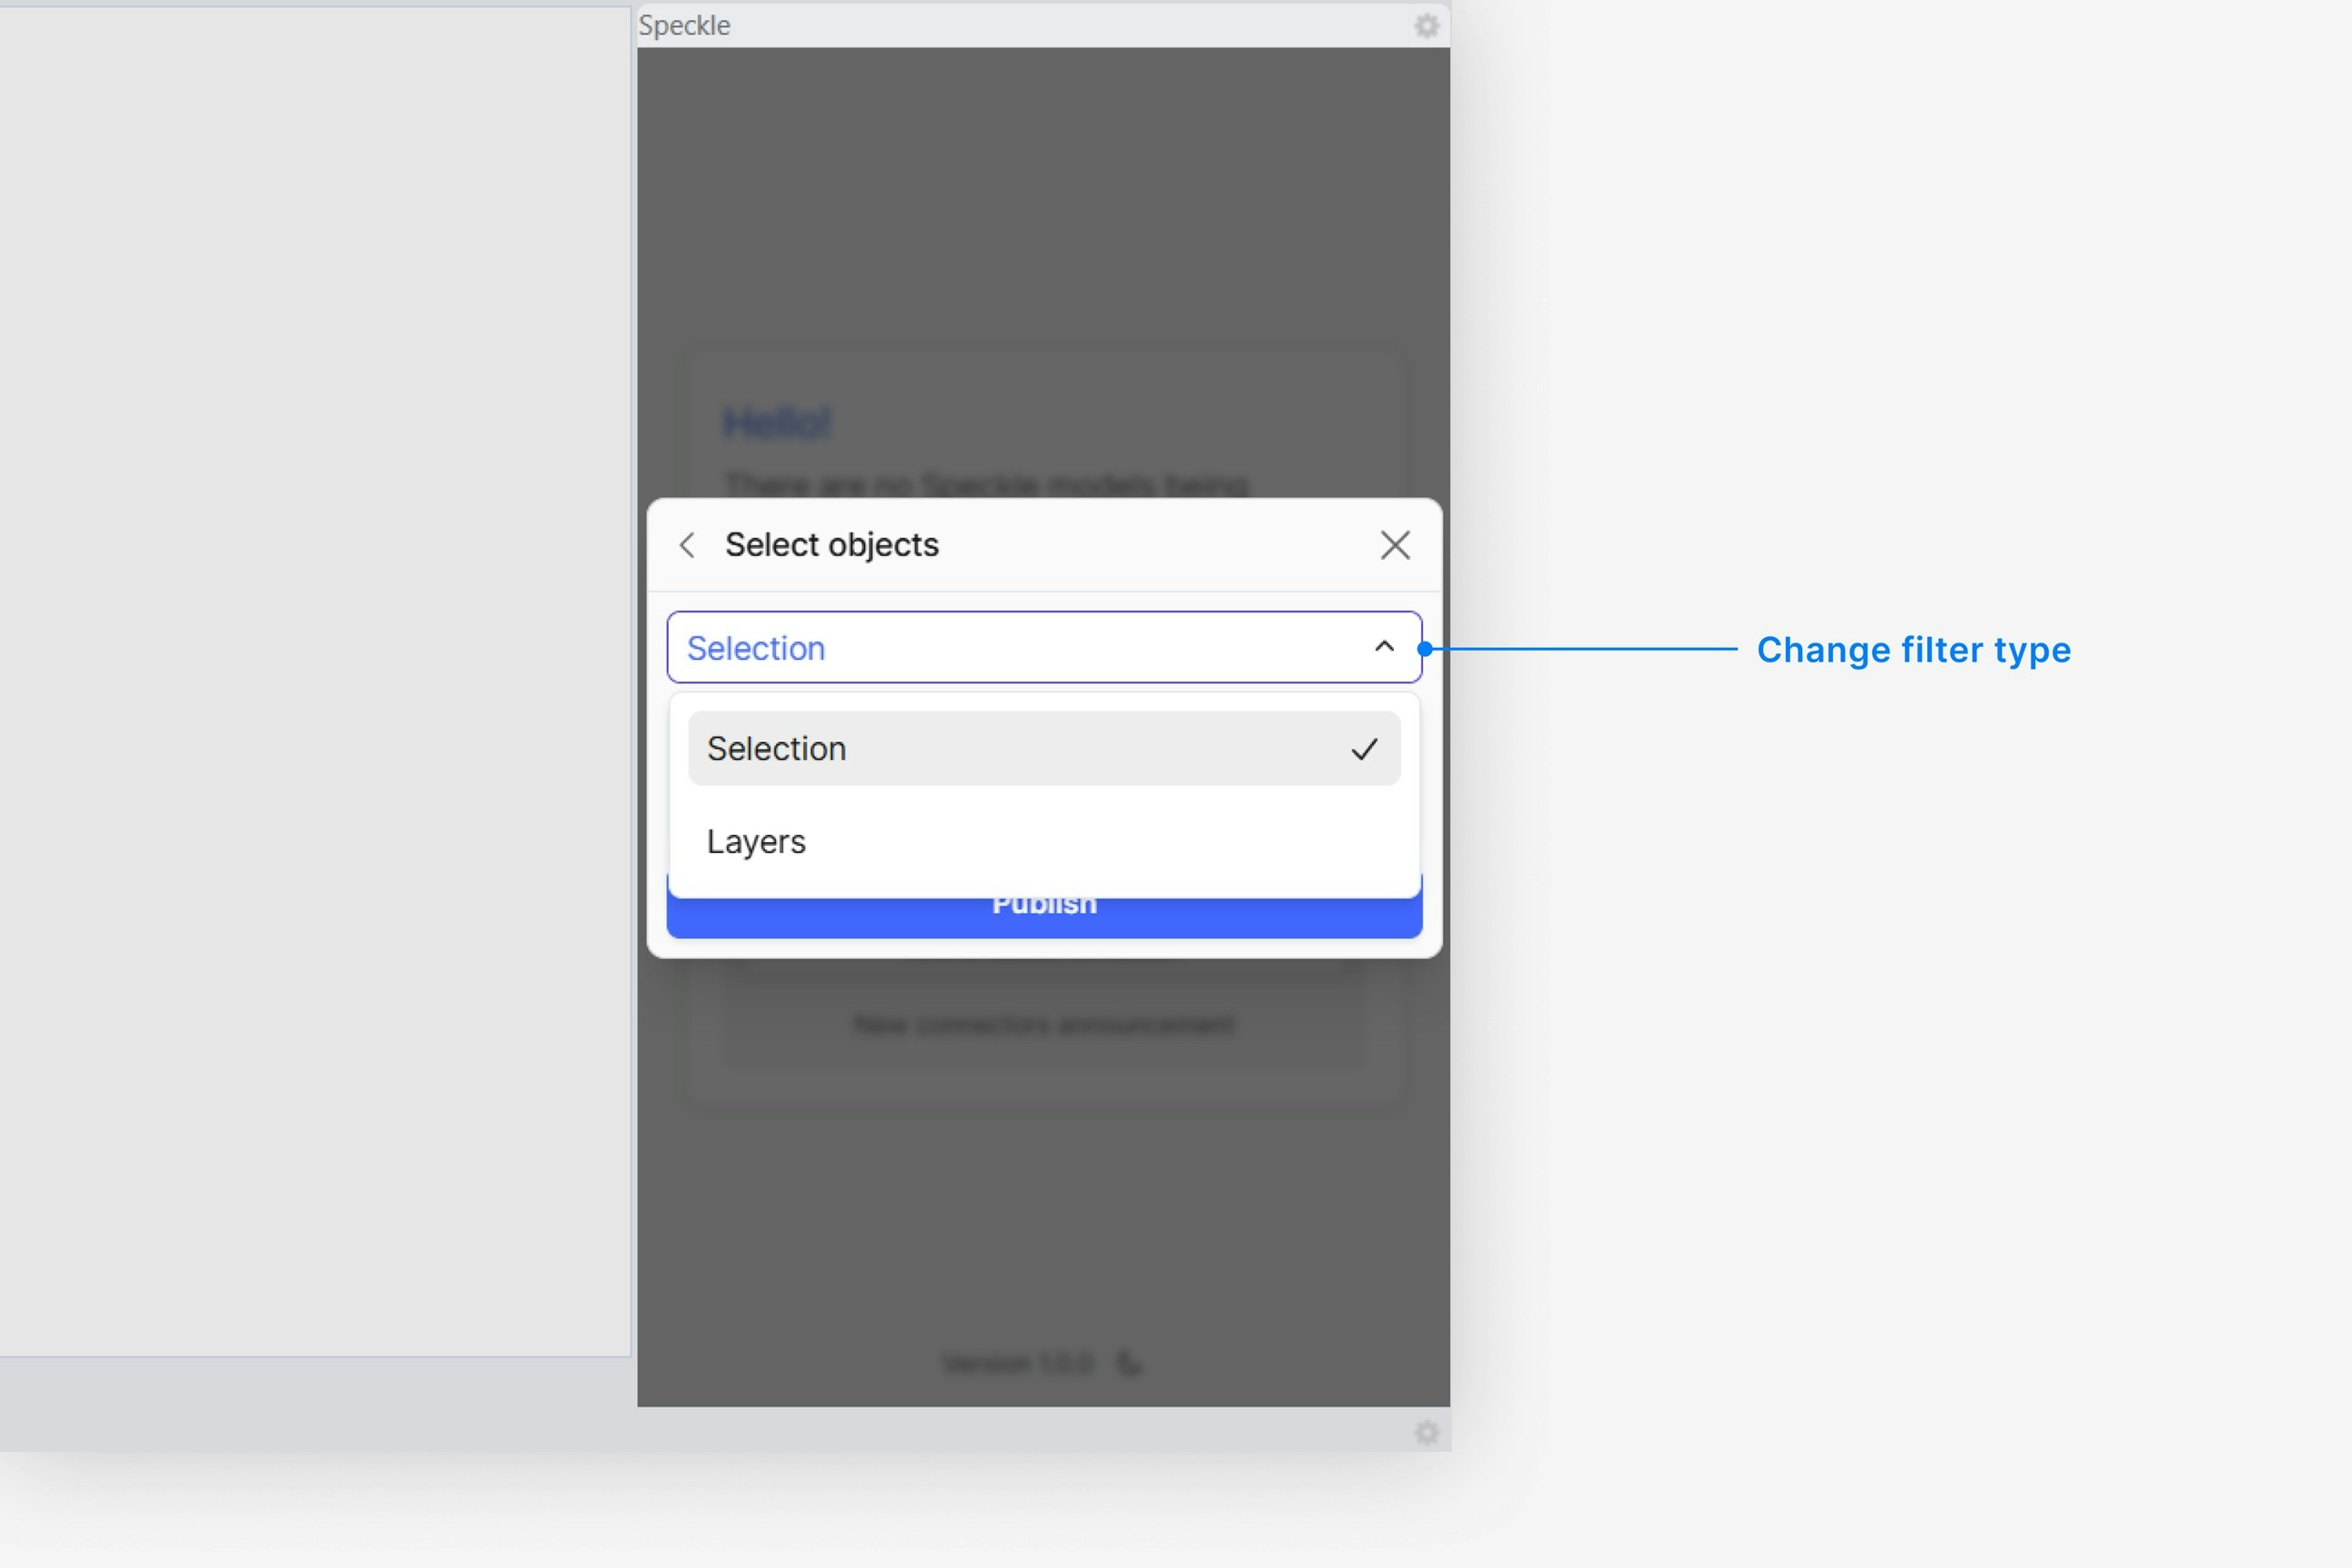
- Select Layers, and then click on any number of layers you would like to add to the filter.
How do I see the user strings on my published Rhino objects?
How do I see the user strings on my published Rhino objects?
What does 'Add visualization properties' do?
What does 'Add visualization properties' do?
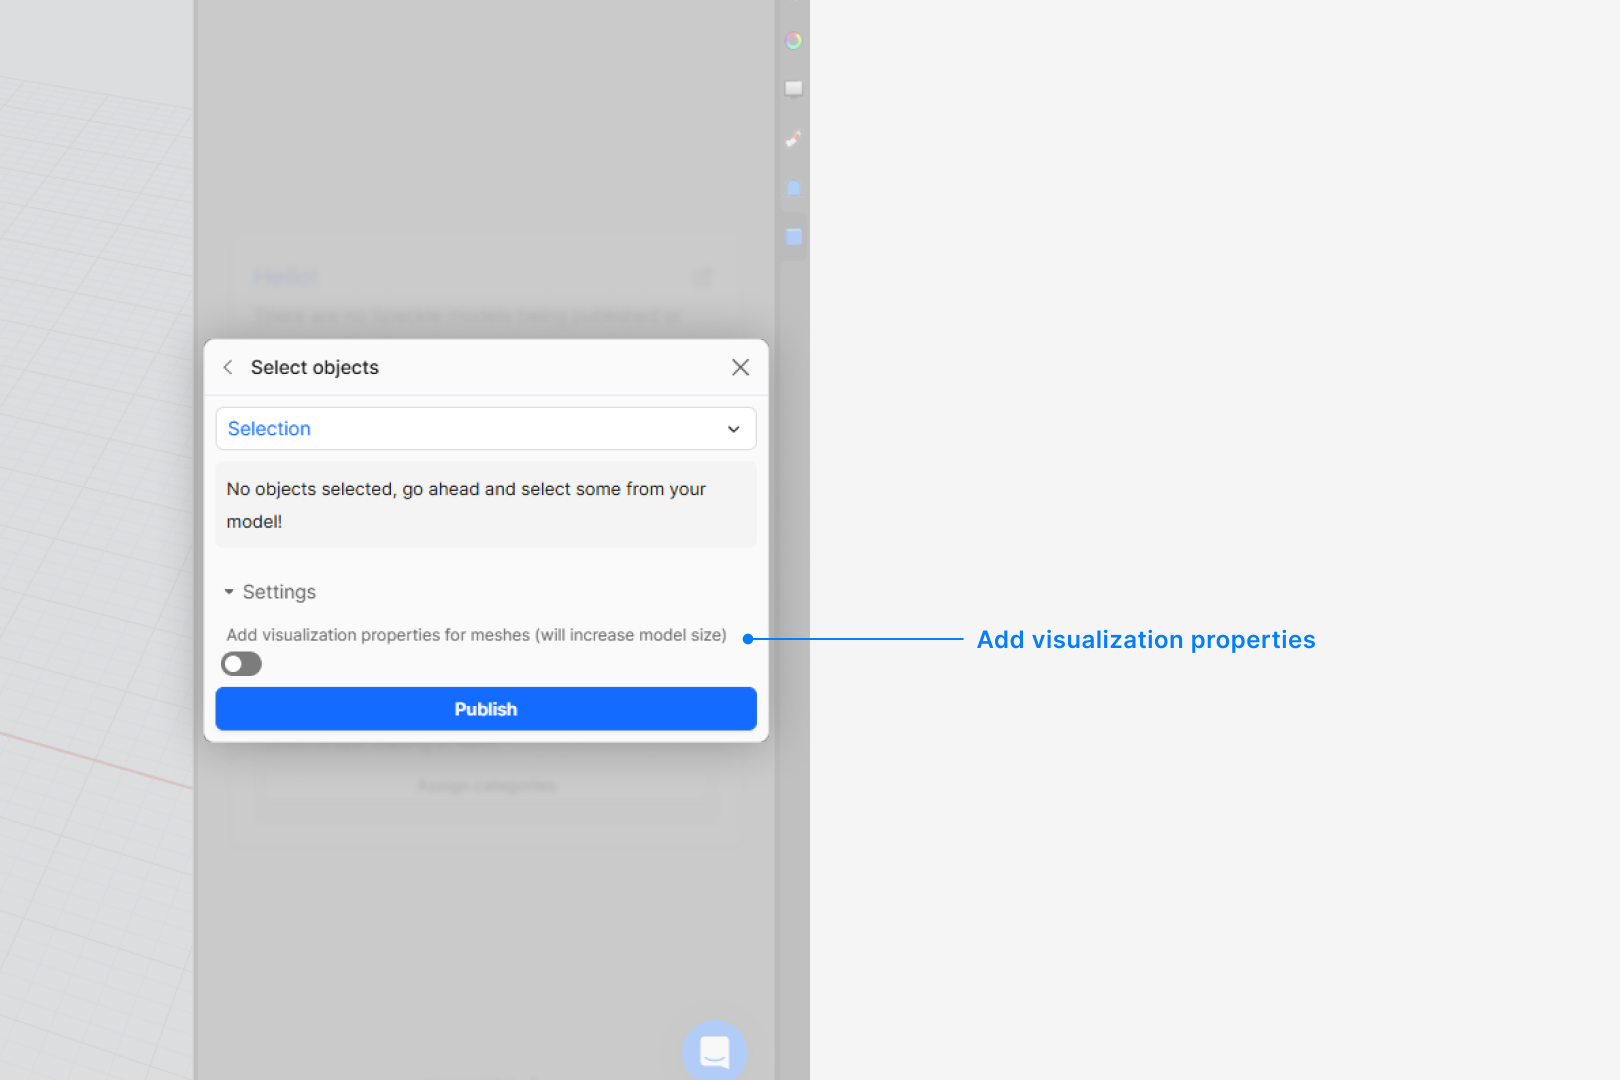
- With the setting OFF: Vertex normals, vertex colors, and texture coordinates are not included on meshes, resulting in smaller model sizes.
- With the setting ON: All visualization data is extracted and included.
- You want the highest visual fidelity in the Speckle viewer
- You need full interoperability with rendering tools (e.g., Blender, other Rhino instances)
- You want the smallest data sizes possible (e.g., for Power BI or other data-focused workflows)
Are my Rhino named views published to Speckle?
Are my Rhino named views published to Speckle?
Why does my model have the wrong colors in the web browser viewer?
Why does my model have the wrong colors in the web browser viewer?
Are bitmap or image-based material textures supported?
Are bitmap or image-based material textures supported?
Why are some objects that I published missing from my model?
Why are some objects that I published missing from my model?
Loading a Model
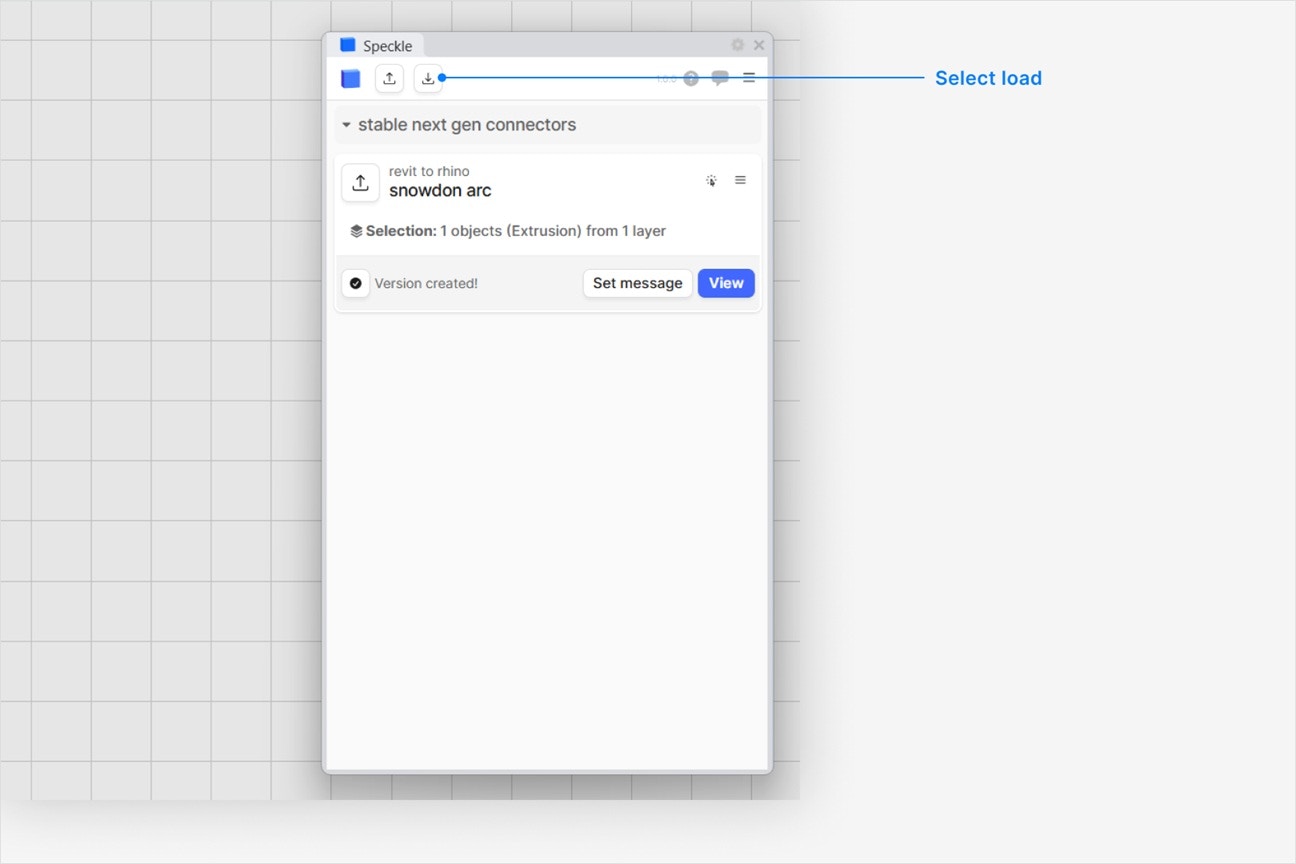
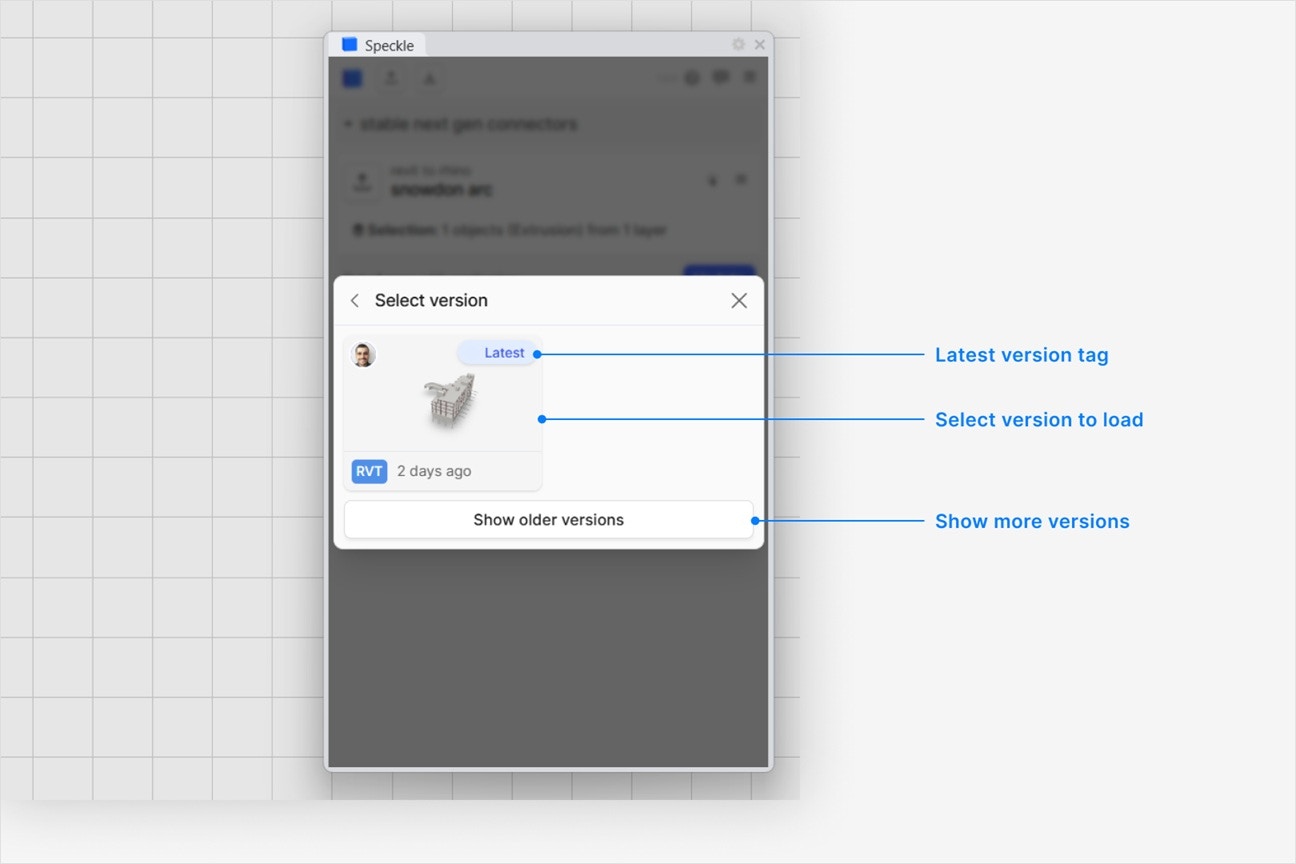
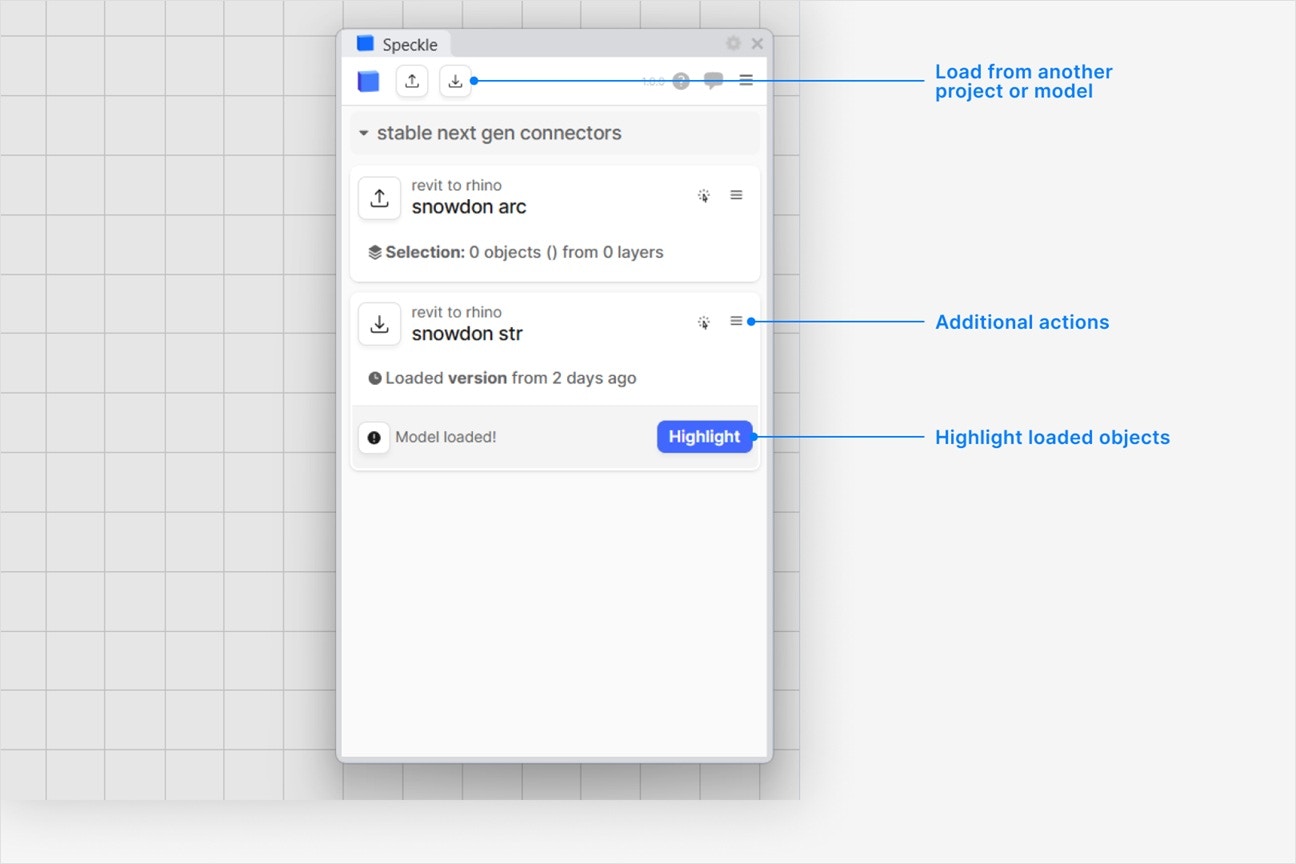
How are Speckle models loaded in Rhino?
How are Speckle models loaded in Rhino?
geometry, text, or blocks in Rhino. They’re created in the same layer structure as what you see when viewing your model in your browser. Each object will be loaded with:- Render material (if any)
- Color (if any)
- Name (if set)
- Custom properties as user strings
Can I load custom properties in Rhino, like Revit parameters?
Can I load custom properties in Rhino, like Revit parameters?
What happens when there is a material in the document with the same name?
What happens when there is a material in the document with the same name?
What happens to materials when I receive a new version of a model?
What happens to materials when I receive a new version of a model?
Are named views included when I load a model in Rhino?
Are named views included when I load a model in Rhino?
- If a named view with the same name already exists in Rhino, it will be skipped and not overwritten.
- Views published from other connectors (e.g., Revit 3D perspective views) are also received as named views in Rhino.
Why are some objects that I loaded missing from my model?
Why are some objects that I loaded missing from my model?
Are bitmap or image-based material textures supported?
Are bitmap or image-based material textures supported?
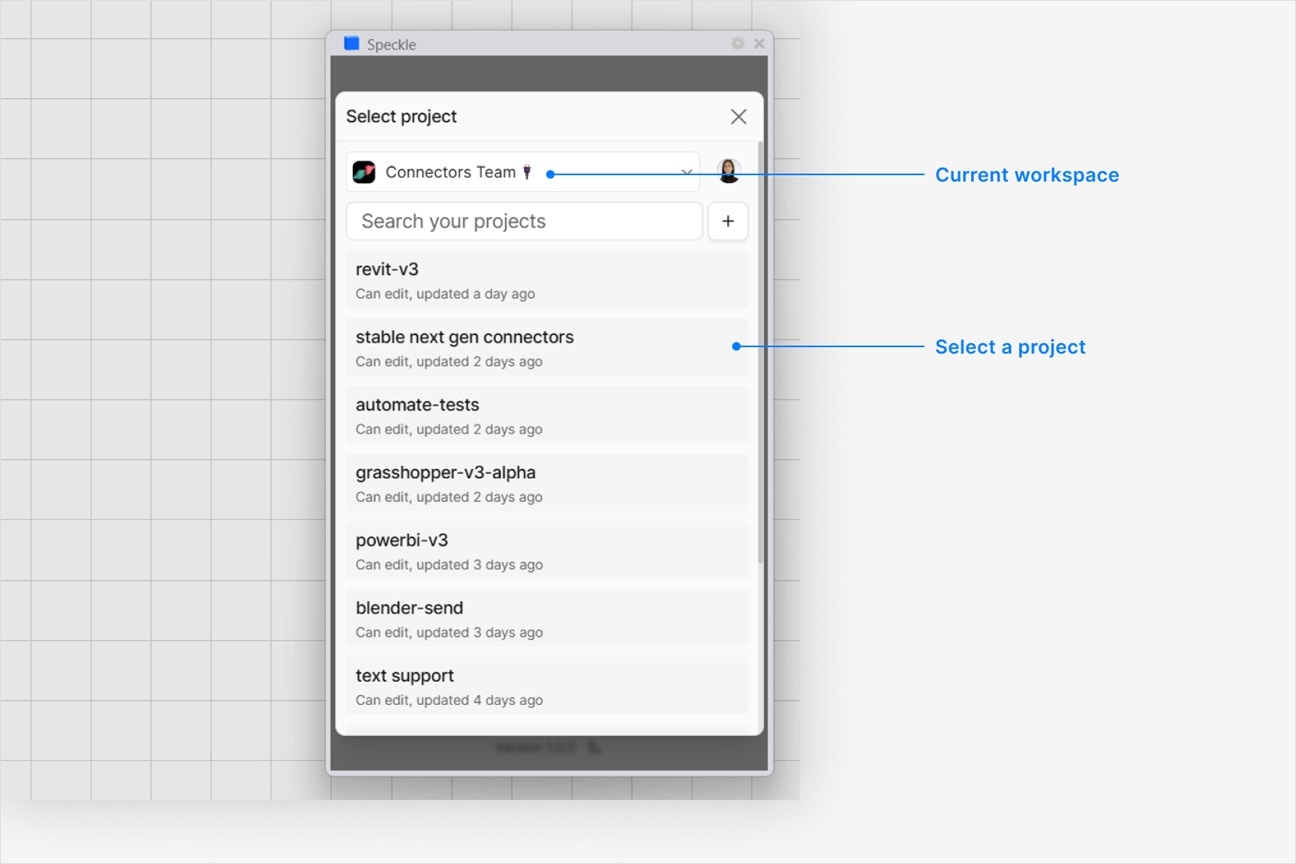
Why can't I select a project in the UI—it's disabled?
Why can't I select a project in the UI—it's disabled?
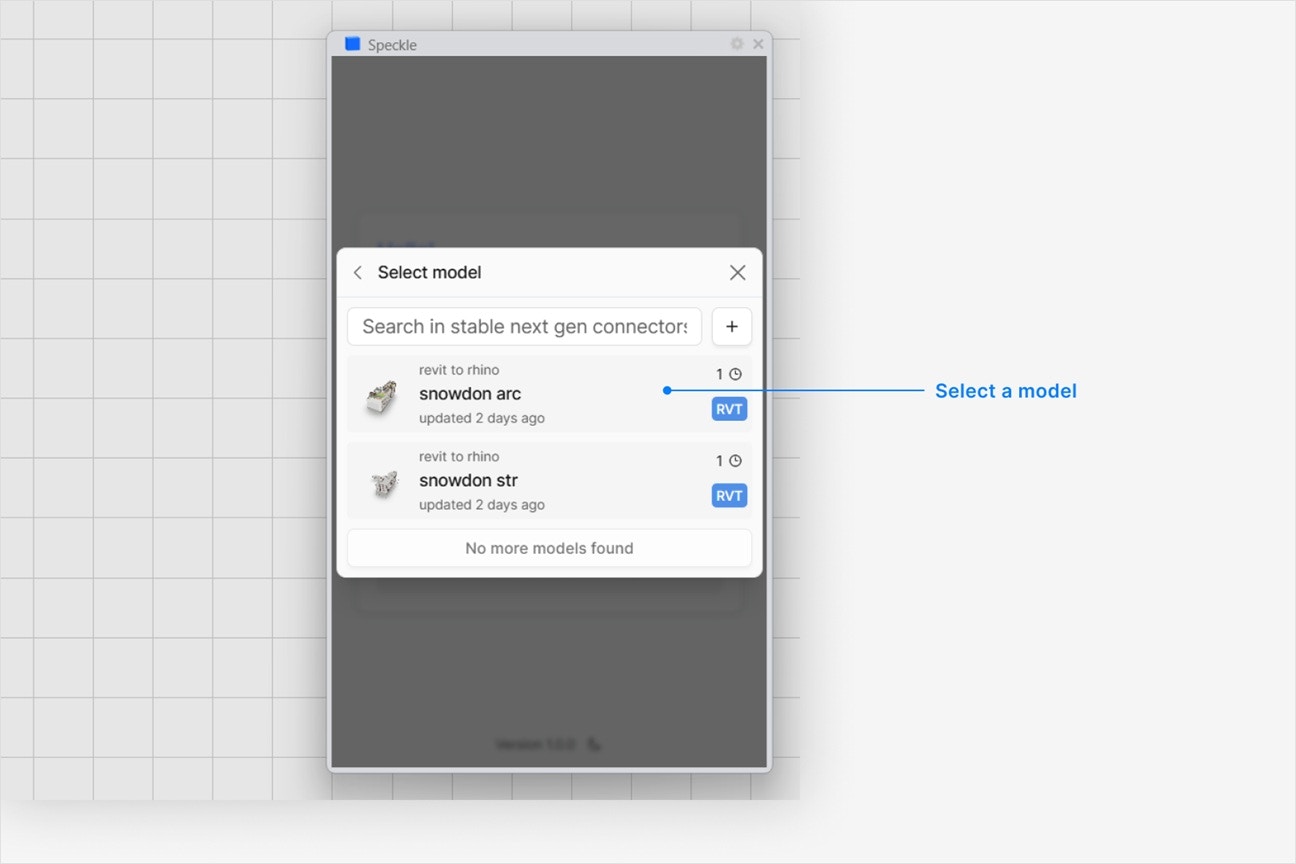
Can I load a model via URL?
Can I load a model via URL?