

Documentation Index
Fetch the complete documentation index at: https://docs.speckle.systems/llms.txt
Use this file to discover all available pages before exploring further.
Setup
Install the connector
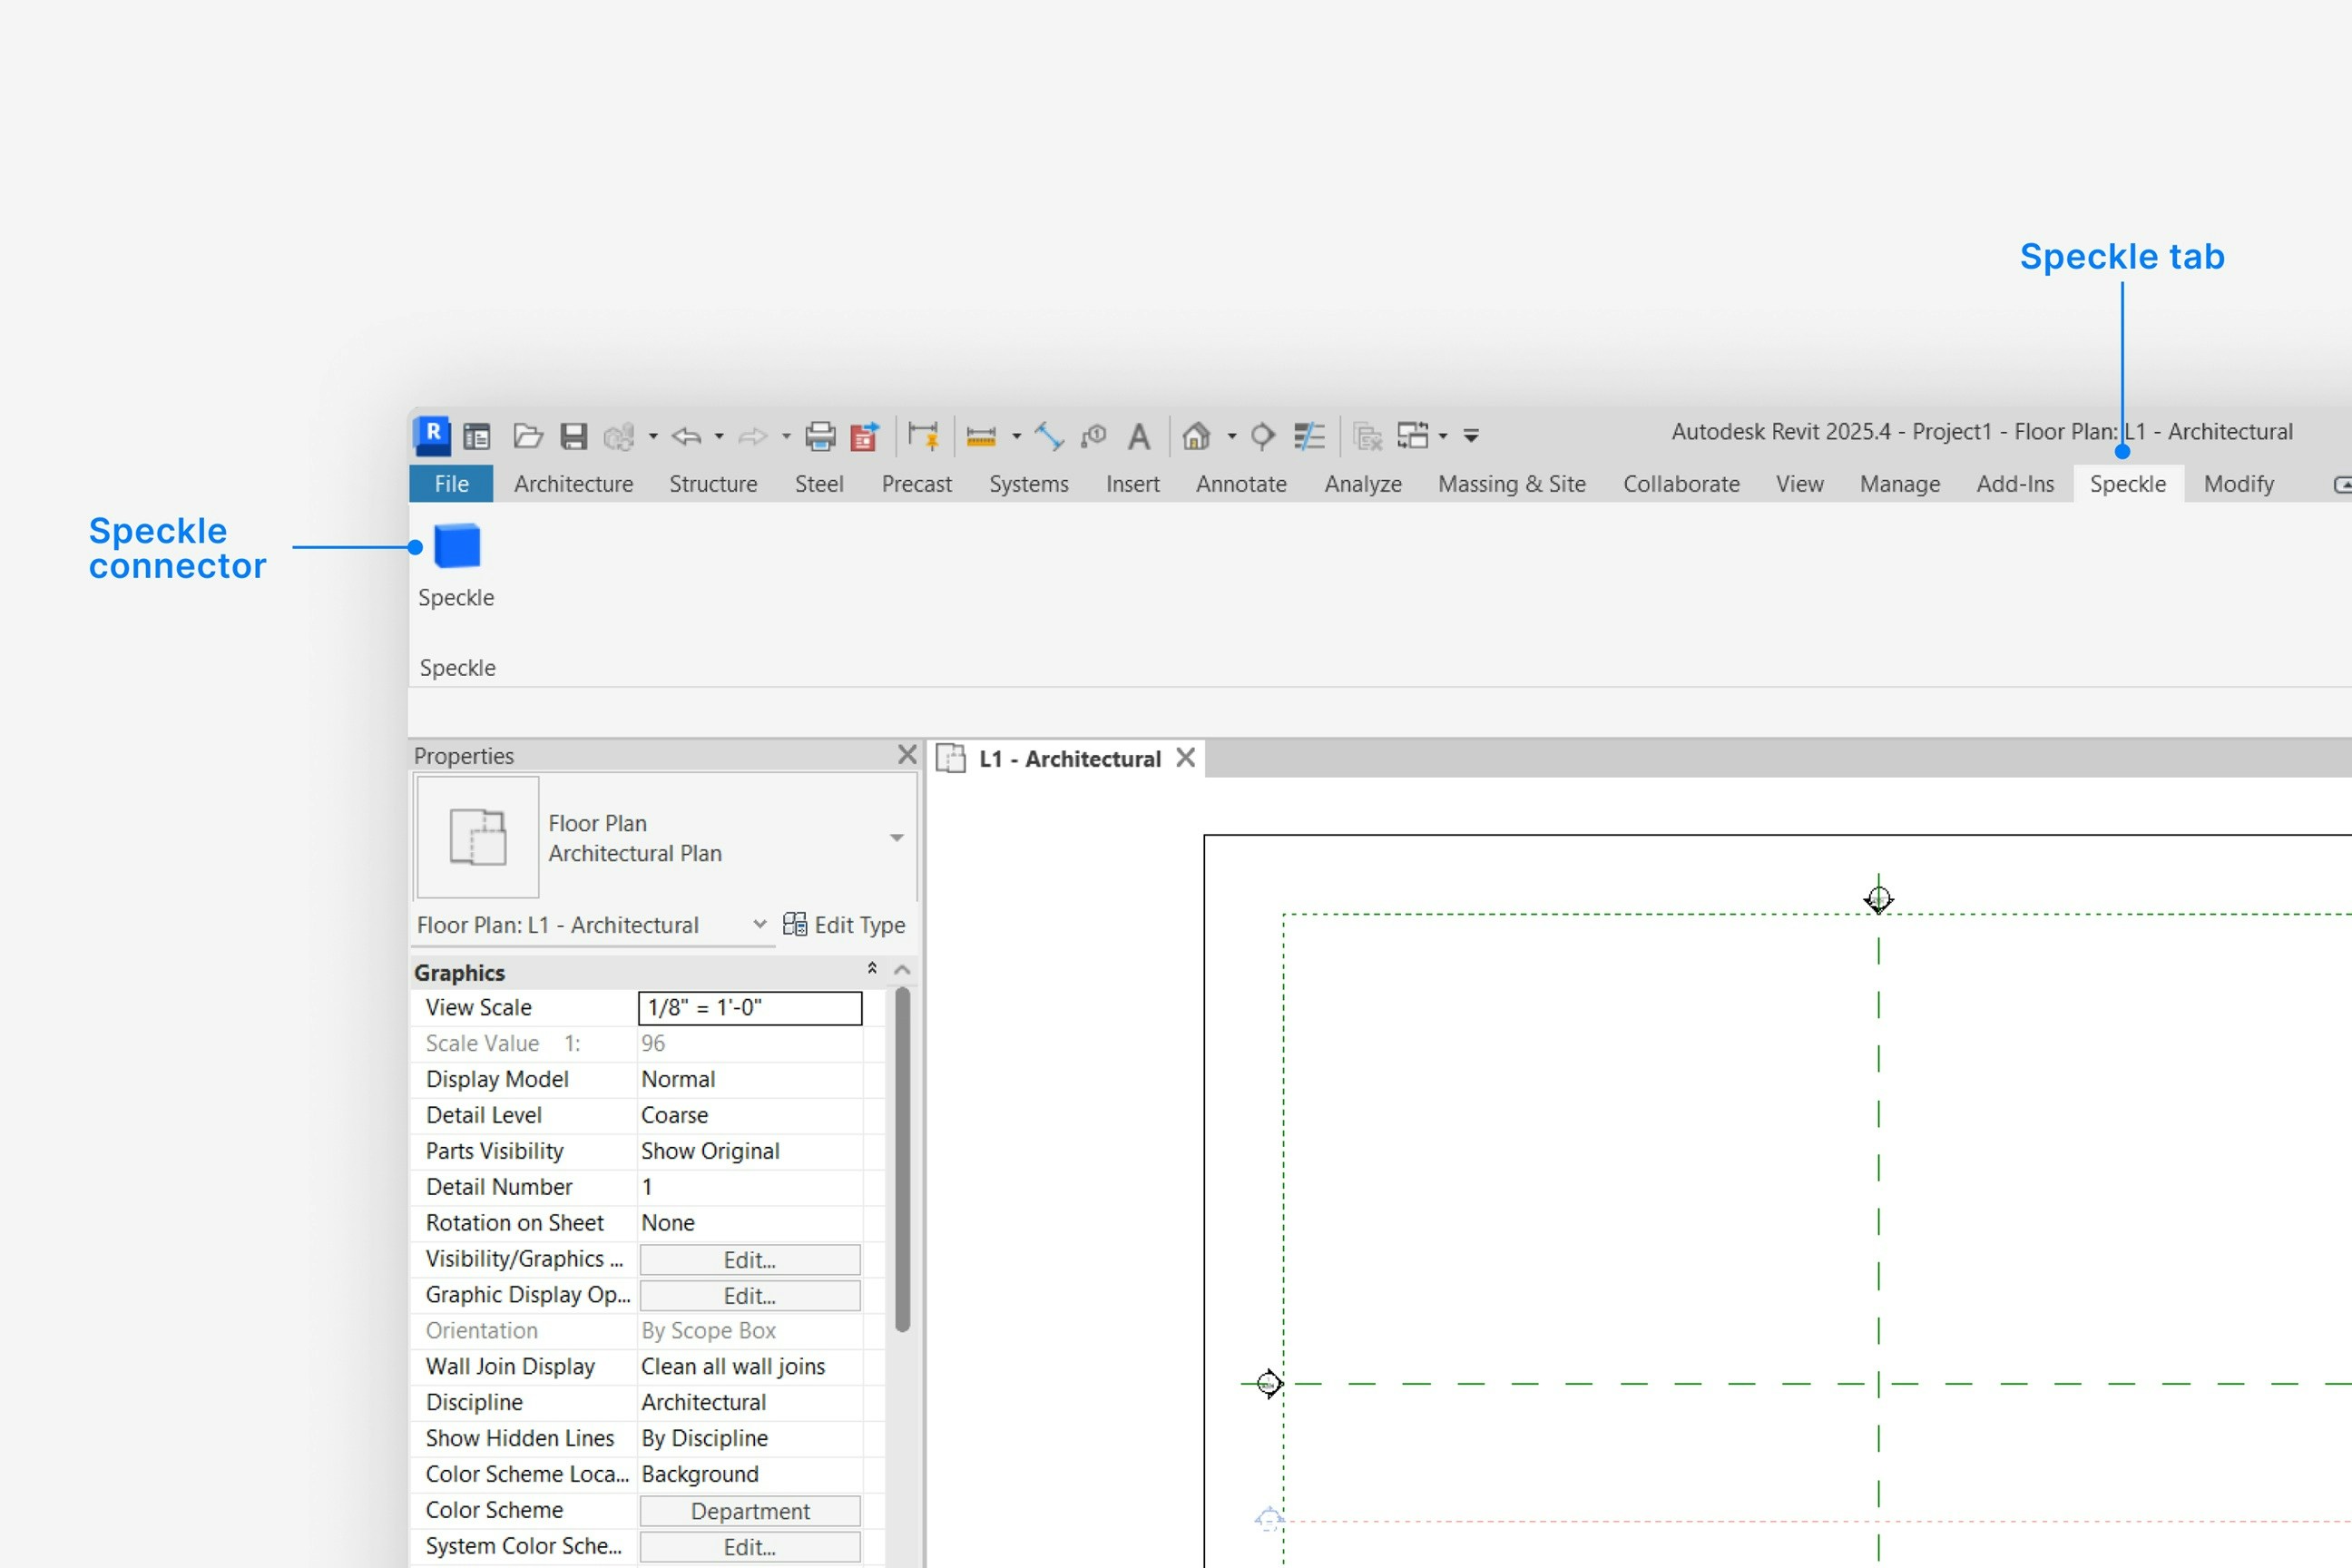
Why is the Speckle plugin not showing up after I installed the connector?
Why is the Speckle plugin not showing up after I installed the connector?
- Make sure your version of is one of the supported versions.
- Uninstall and reinstall your connector.
.exe or right-clicking and then selecting Open to run the installer.
Installation issues can also be caused by conflicting plugins.If you’re still experiencing problems, please report it in our Community Forum and include the following information:- Your application version
- Your Speckle connector version
What should I do if the plugin UI is empty or unresponsive, or if my application crashes?
What should I do if the plugin UI is empty or unresponsive, or if my application crashes?
log file in your directory at AppData\Roaming\Speckle\Logs.
Please report your problem in our Community Forum and include the following information:- Your application version
- Your Speckle connector version
- A copy of the log
Why can't I add a new account?
Why can't I add a new account?
How do I uninstall my connector?
How do I uninstall my connector?
Applications. For a full uninstall, you should also remove Speckle Desktop Services as well as your Speckle connector.How do I update my connector to the latest version?
How do I update my connector to the latest version?
Publishing a Model
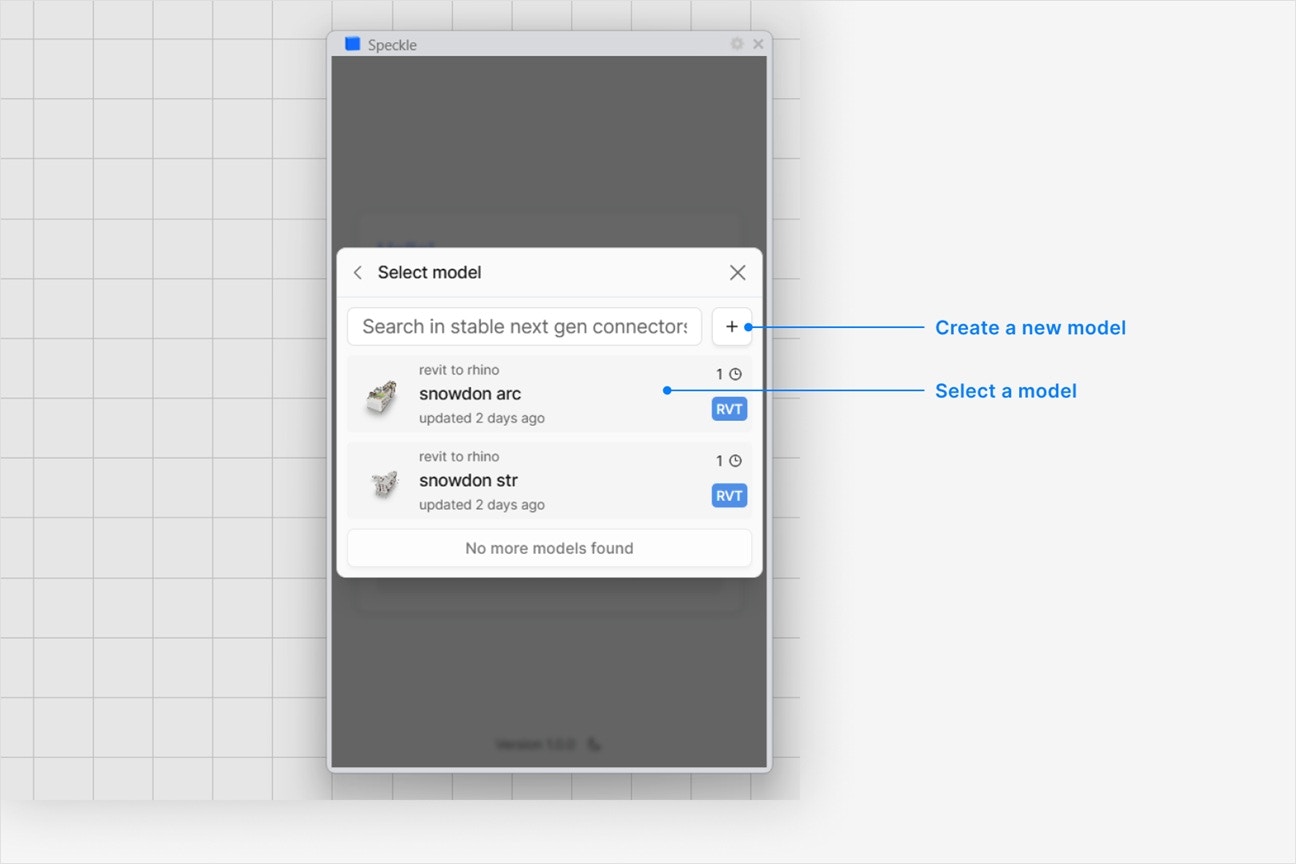
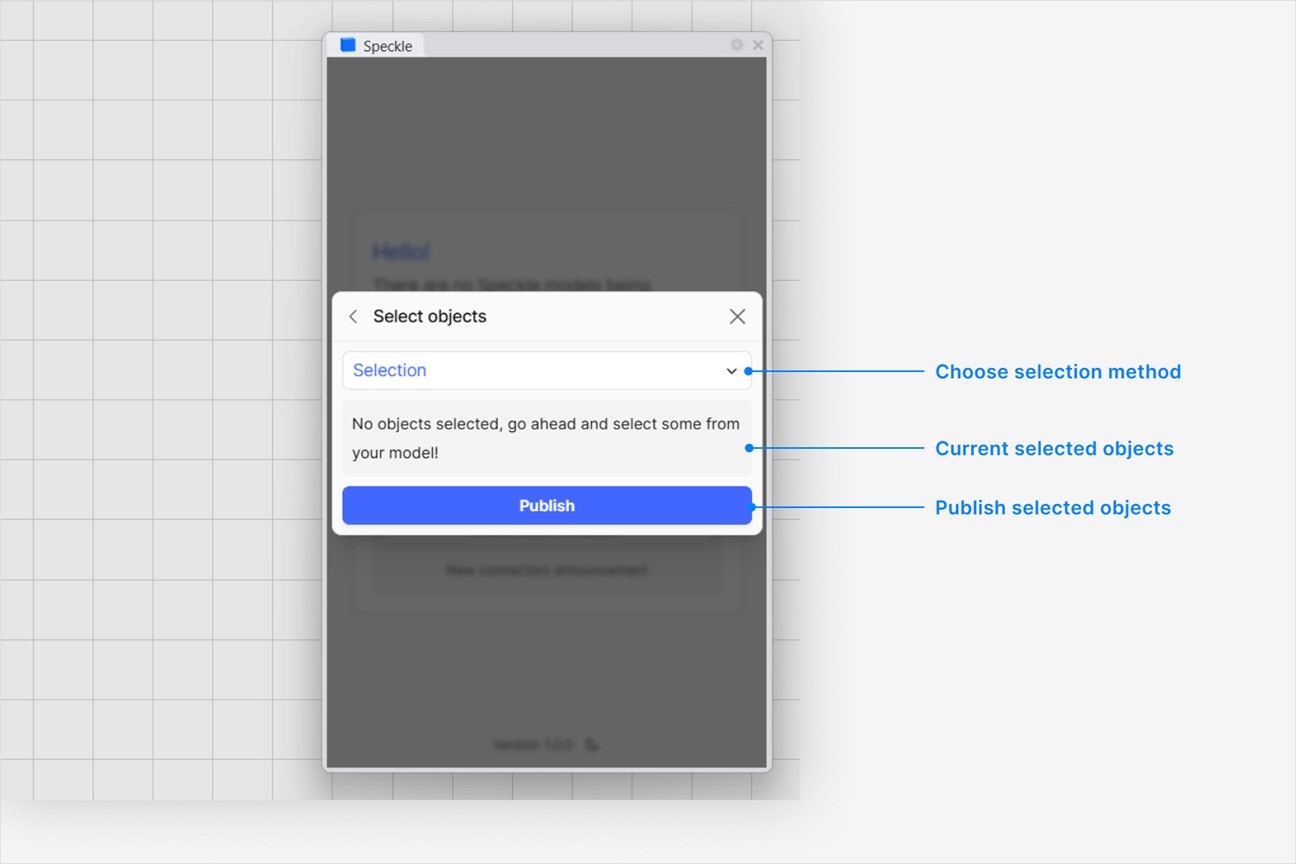
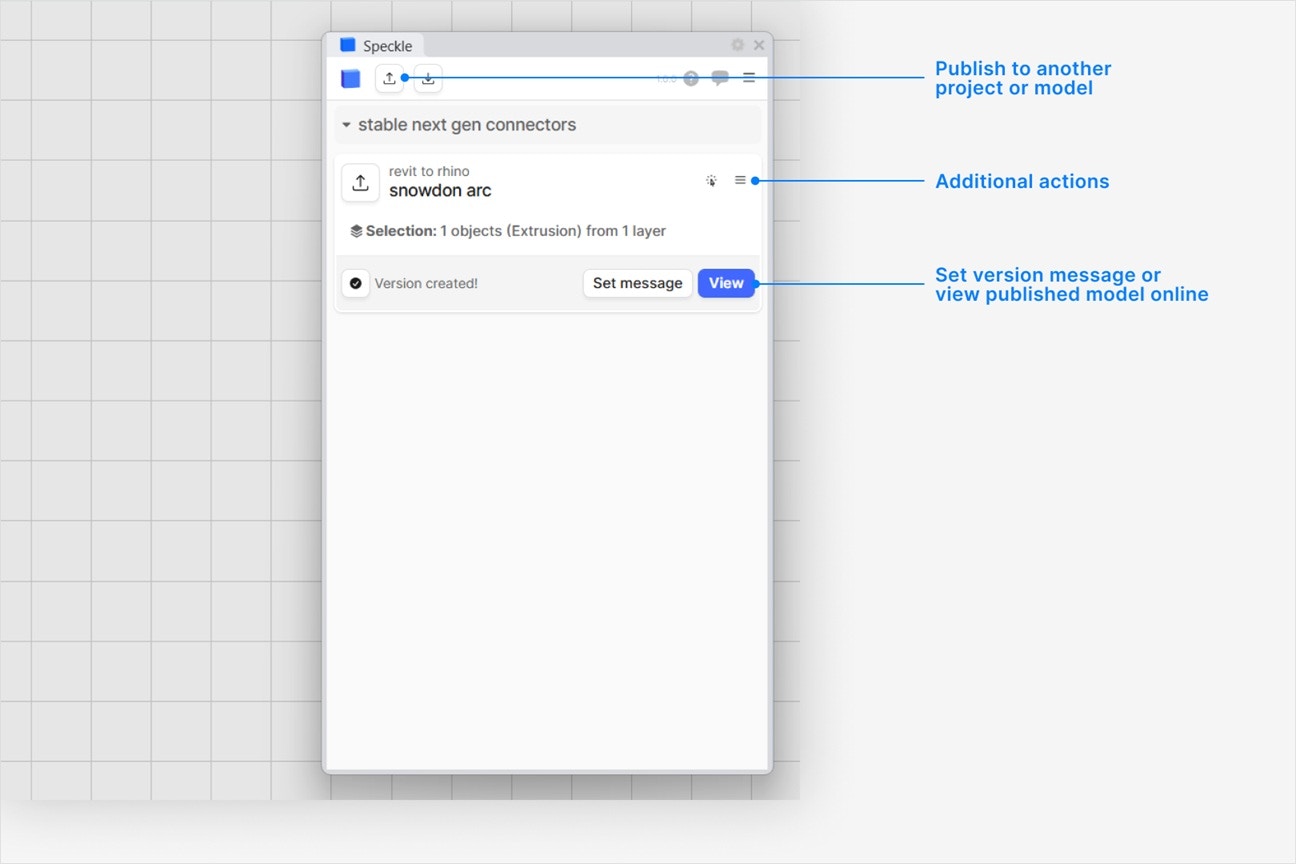
What types of Revit elements can I publish to Speckle?
What types of Revit elements can I publish to Speckle?
- category, family, and type
- level
- location curve (if any)
- Mesh (solid elements), Curve (model curves), or Pointcloud geometry
- custom properties
- render material
How do I publish models from Revit views?
How do I publish models from Revit views?
- Click the blue filter field at the top of Select objects dialog while publishing a new version.
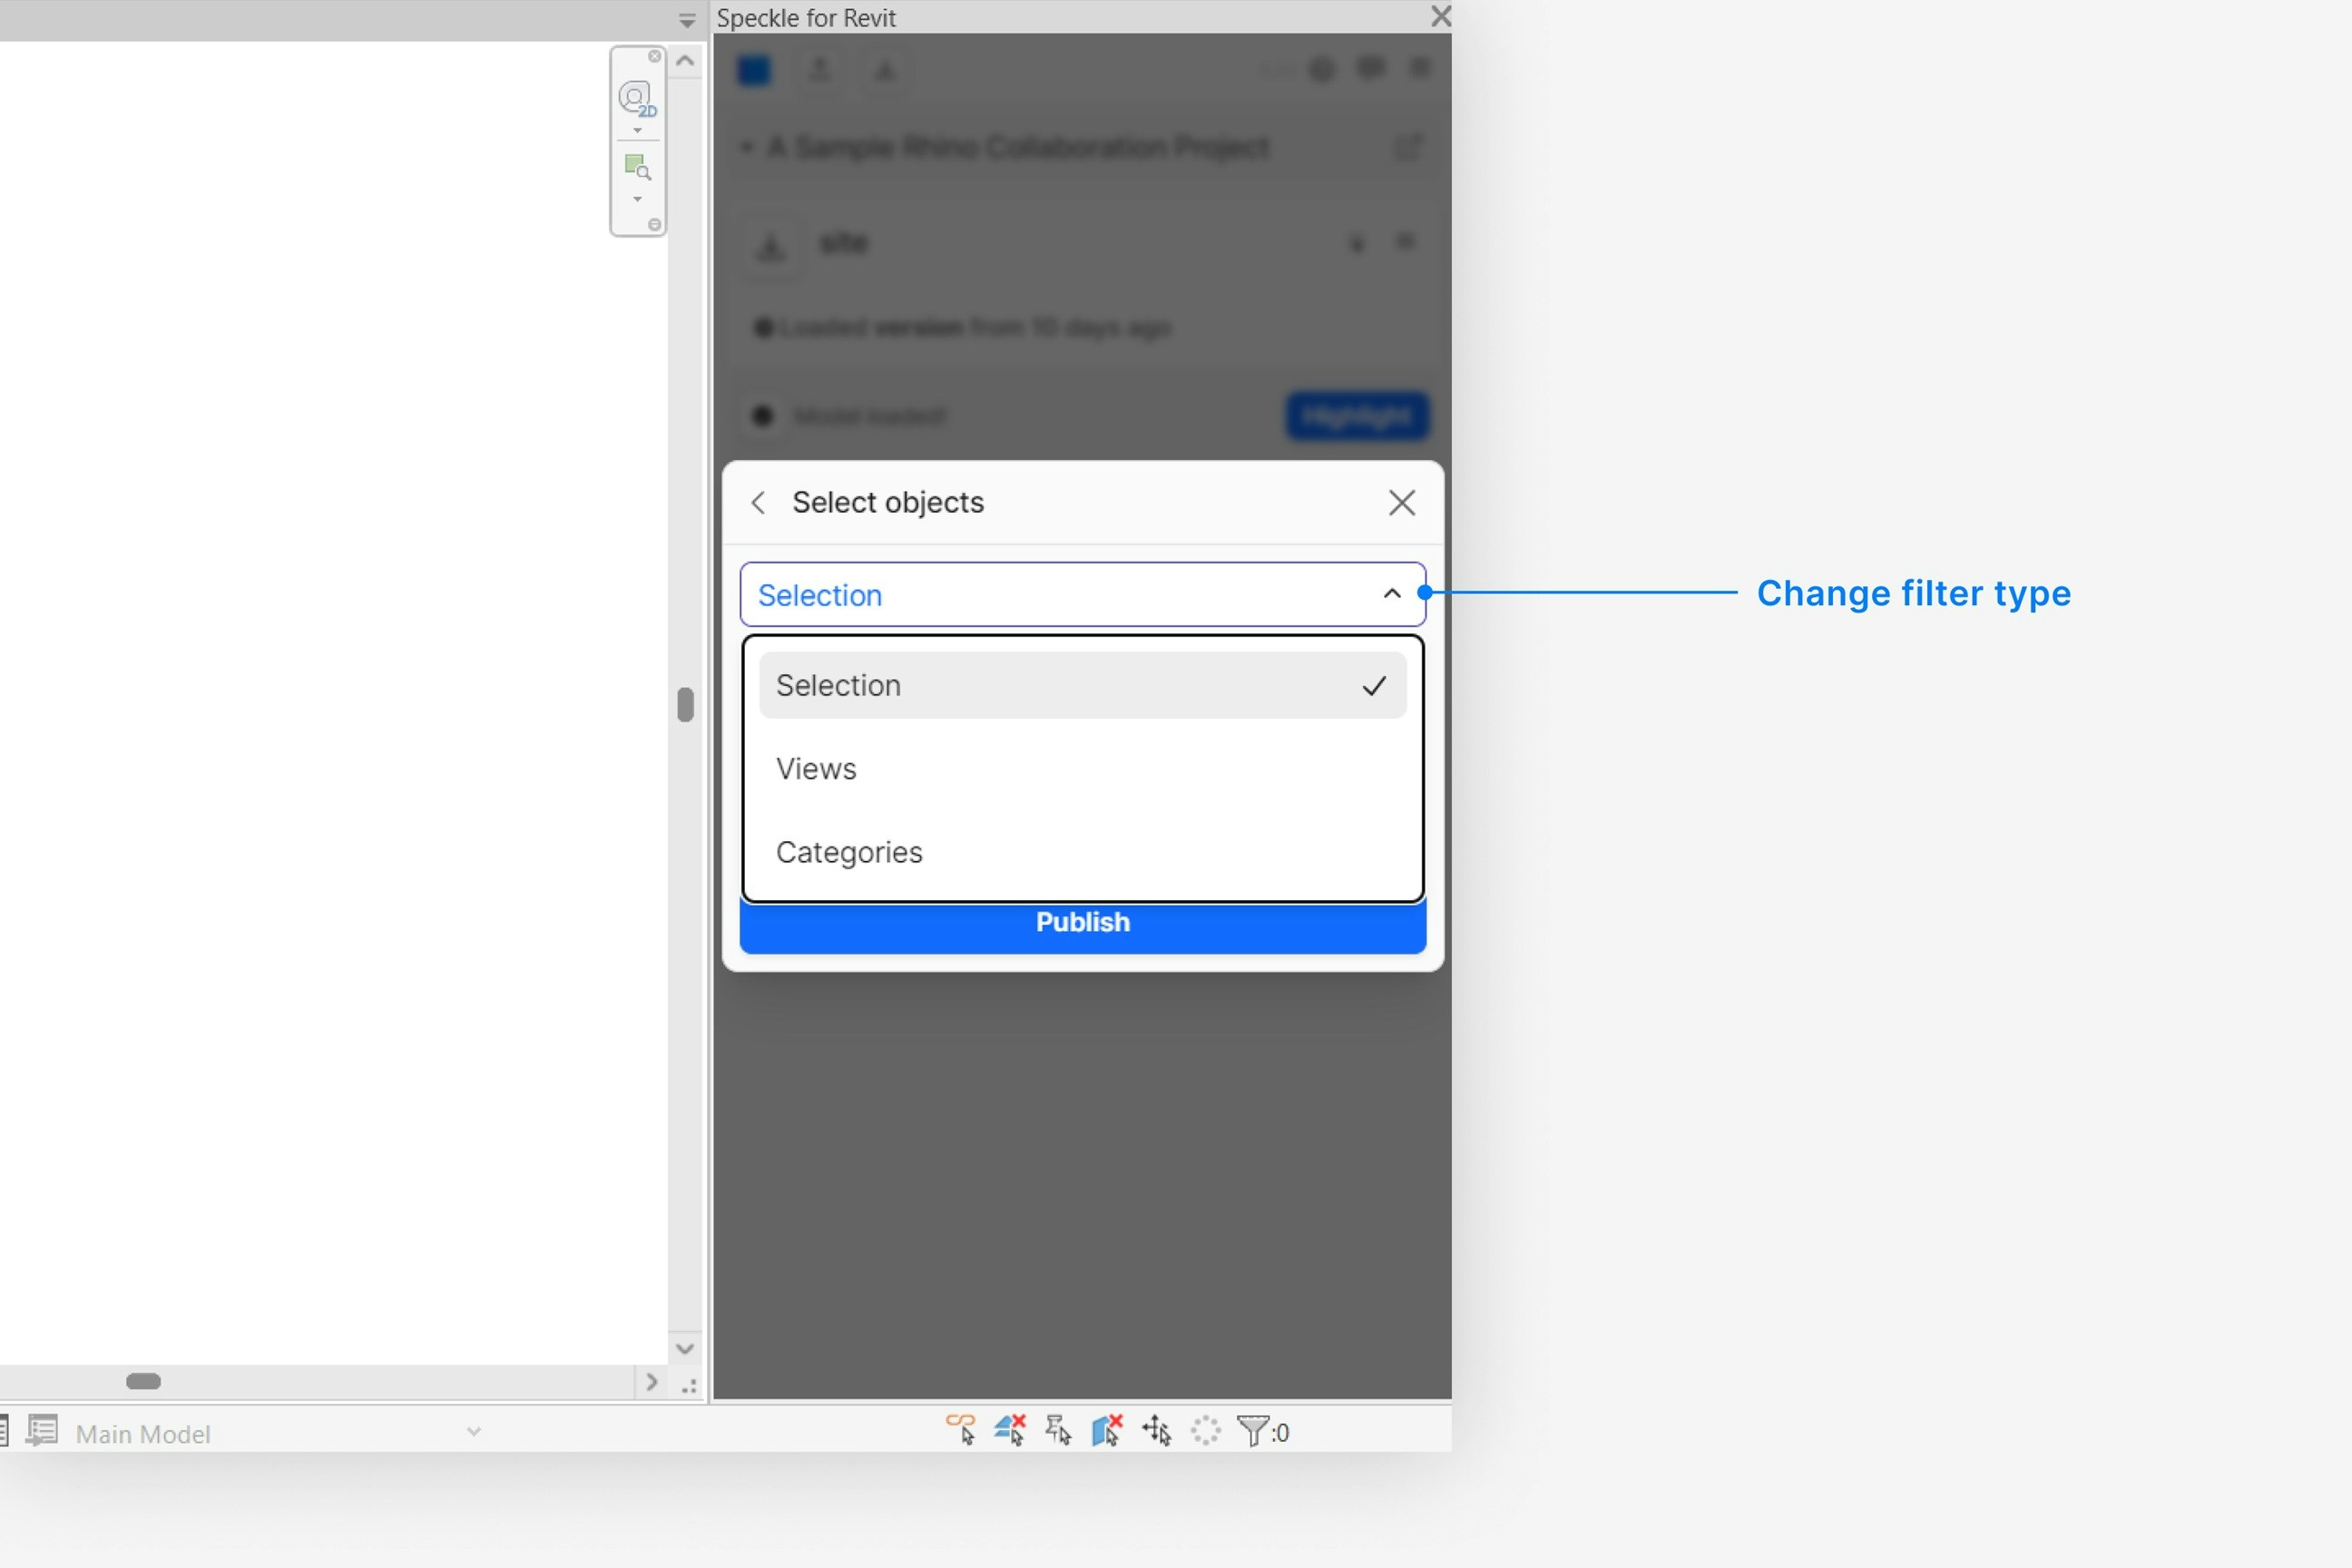
- Select Views, and then select the view you would like to publish from.
How do I publish models by Revit category?
How do I publish models by Revit category?
- Click the blue filter field at the top of Select objects dialog while publishing a new version.
- Select Categories, and then click on any number of categories you would like to add to the filter.
How do I publish linked models?
How do I publish linked models?
- Expand the Settings field at the bottom of the Select objects dialog while publishing a new version.
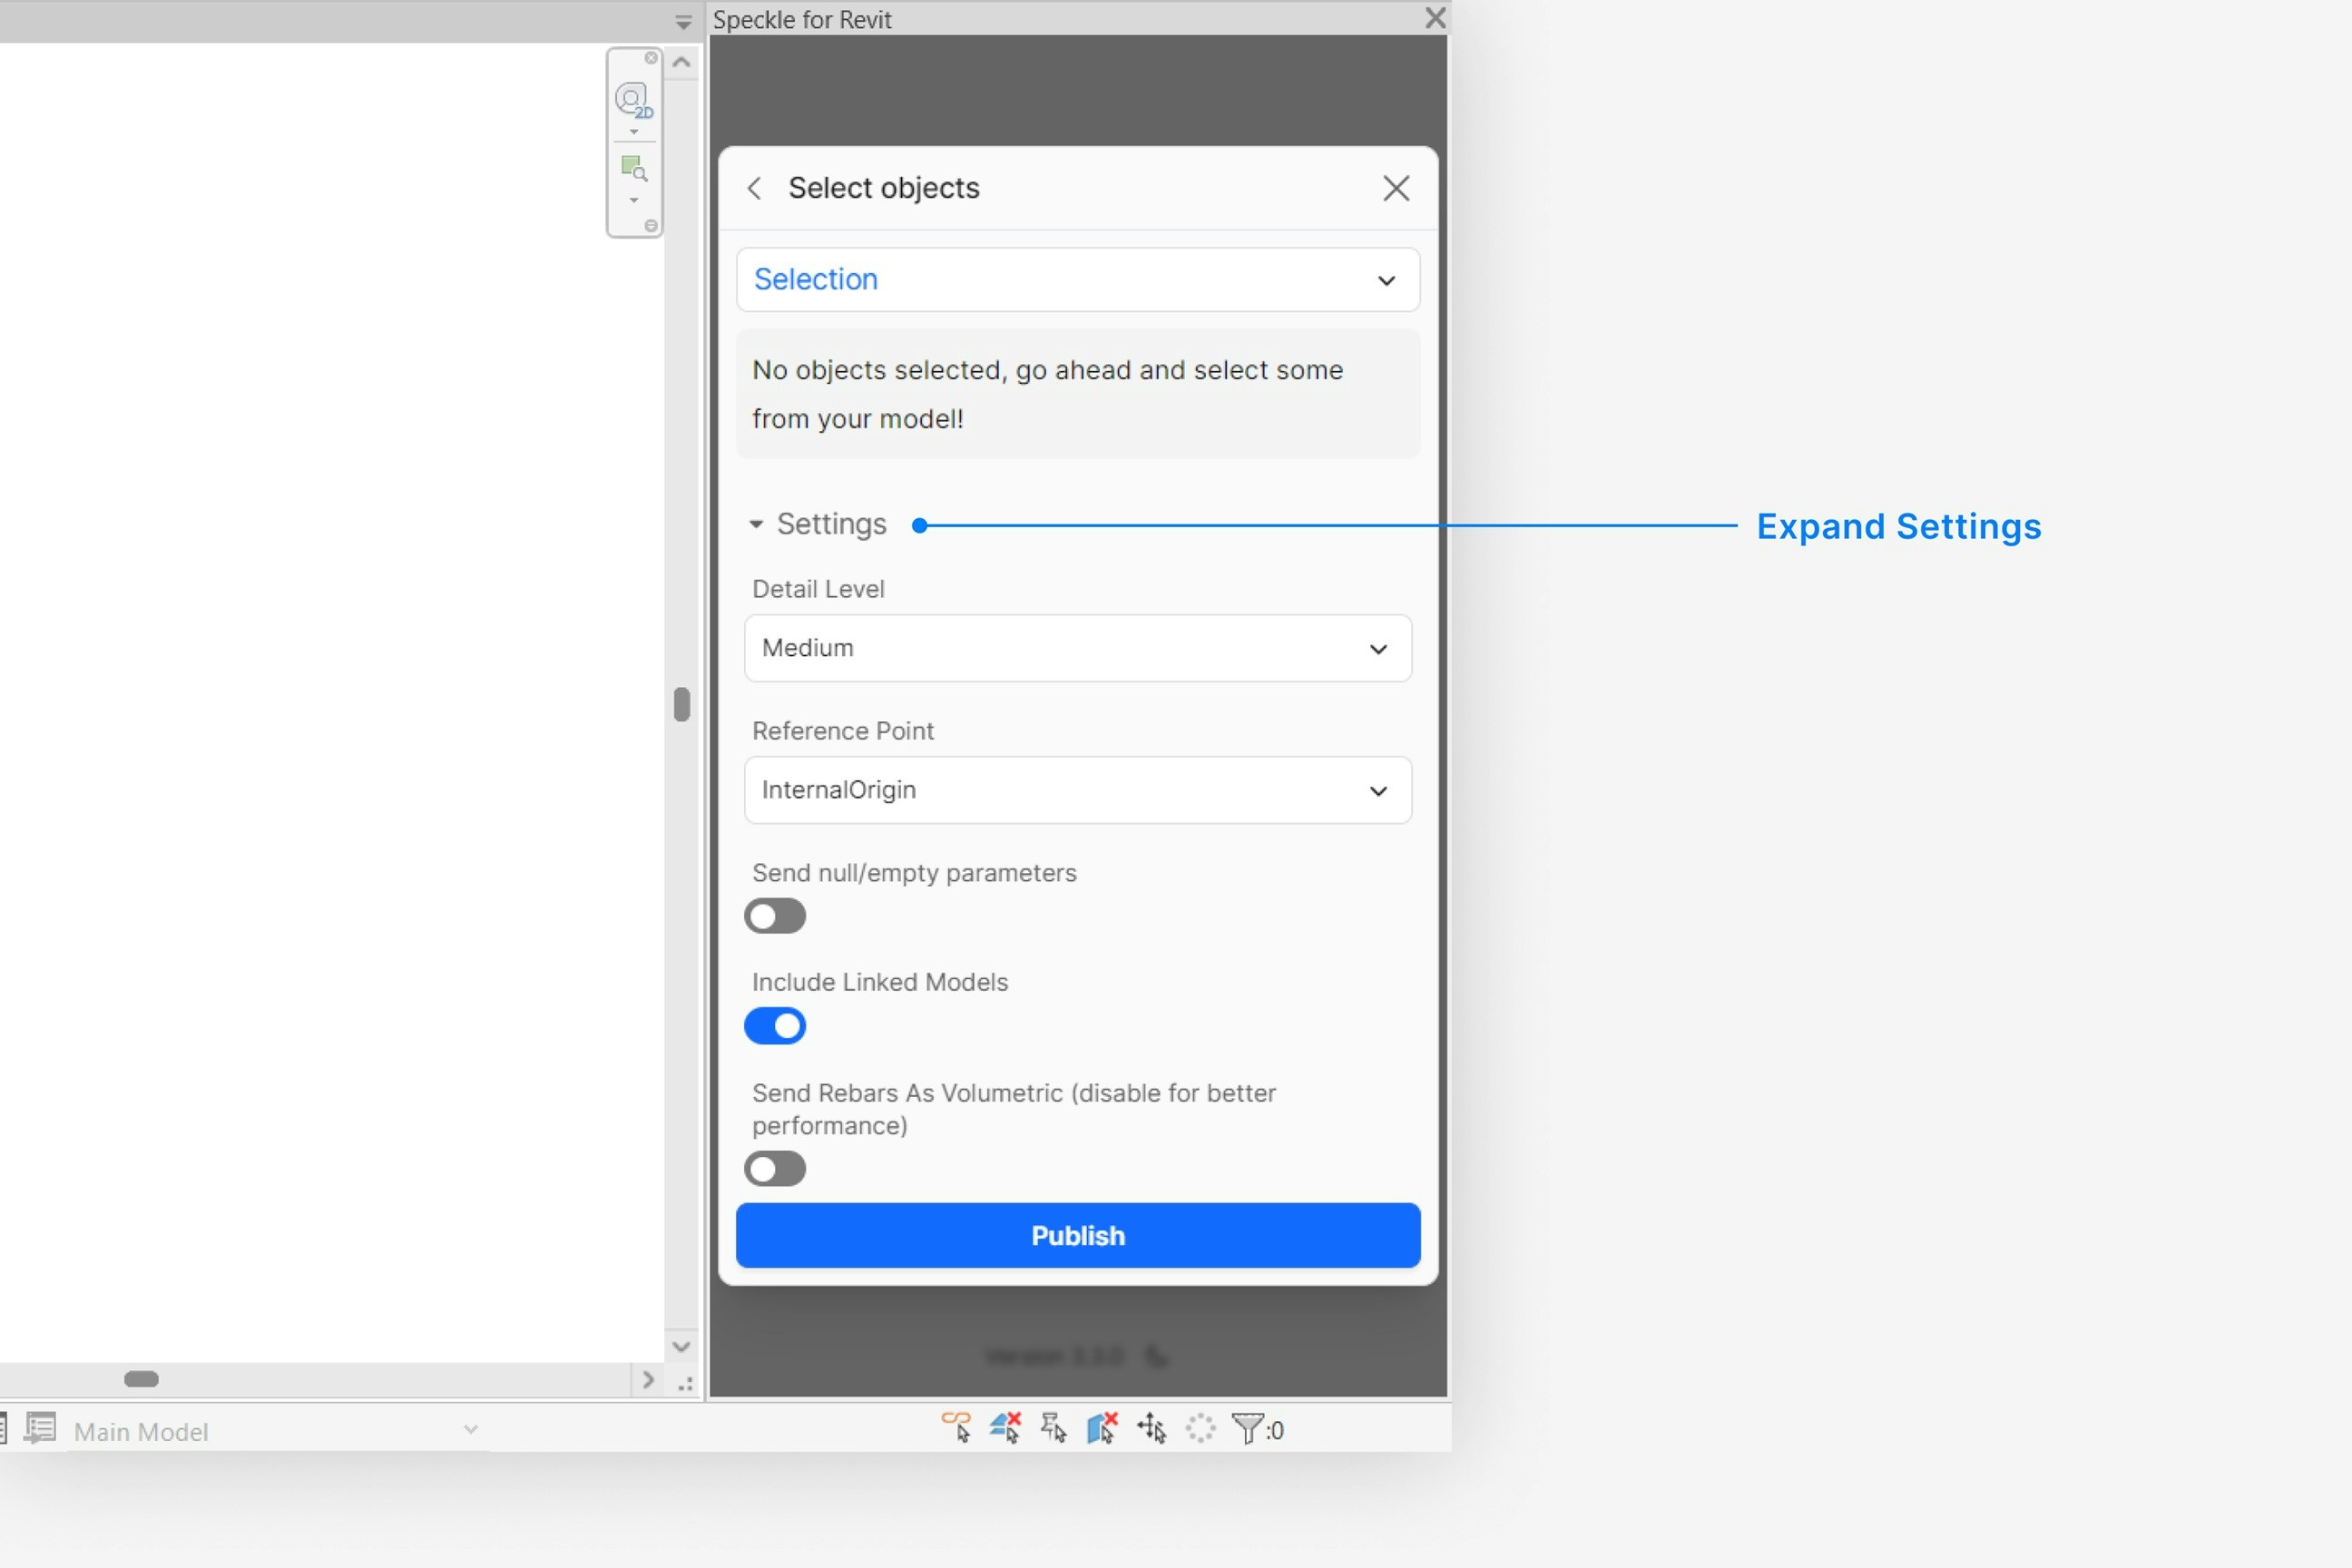
- Check that the Include linked models toggle is turned on.
How do I make sure my Revit model is aligned with my other Speckle models?
How do I make sure my Revit model is aligned with my other Speckle models?
- Expand the Settings field at the bottom of the Select objects dialog while publishing a new version.
- Set the Reference Point setting to your desired reference point. Your published model will now be oriented according to your specified reference point.
What is the difference between the Survey Point and Shared Coordinates reference points?
What is the difference between the Survey Point and Shared Coordinates reference points?
How do I see the custom properties on my published Revit elements, like parameters or material quantities?
How do I see the custom properties on my published Revit elements, like parameters or material quantities?
properties field when you select and view a Revit object in your browser.
Custom properties vary depending on the type of Revit element, and can include:- element id, built-in category, and workset properties
- material quantities
- parameters
- structural material properties (such as density and compressive strength)
How do I publish my rebar as solid objects instead of curves?
How do I publish my rebar as solid objects instead of curves?
- Expand the Settings field at the bottom of the Select objects dialog while publishing a new version.
- Toggle the Send Rebars As Volumetric setting to true. Caution: publishing all rebars as their volumetric representations can significantly slow down publishing speed.
Are my Revit 3D views published to Speckle?
Are my Revit 3D views published to Speckle?
Why does my model have the wrong colors in the web browser viewer?
Why does my model have the wrong colors in the web browser viewer?
Are bitmap or image-based material textures supported?
Are bitmap or image-based material textures supported?
Why are some objects that I published missing from my model?
Why are some objects that I published missing from my model?
Loading a Model
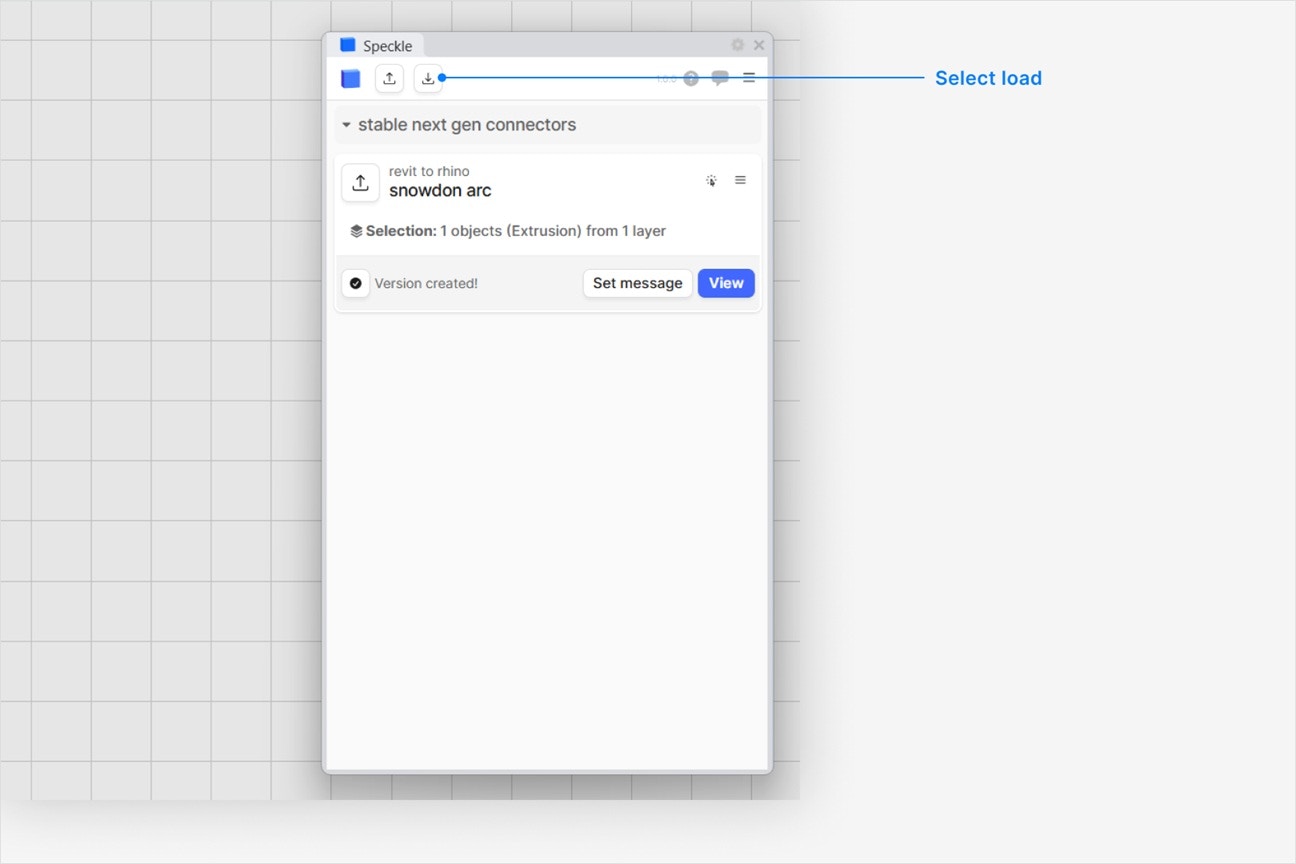
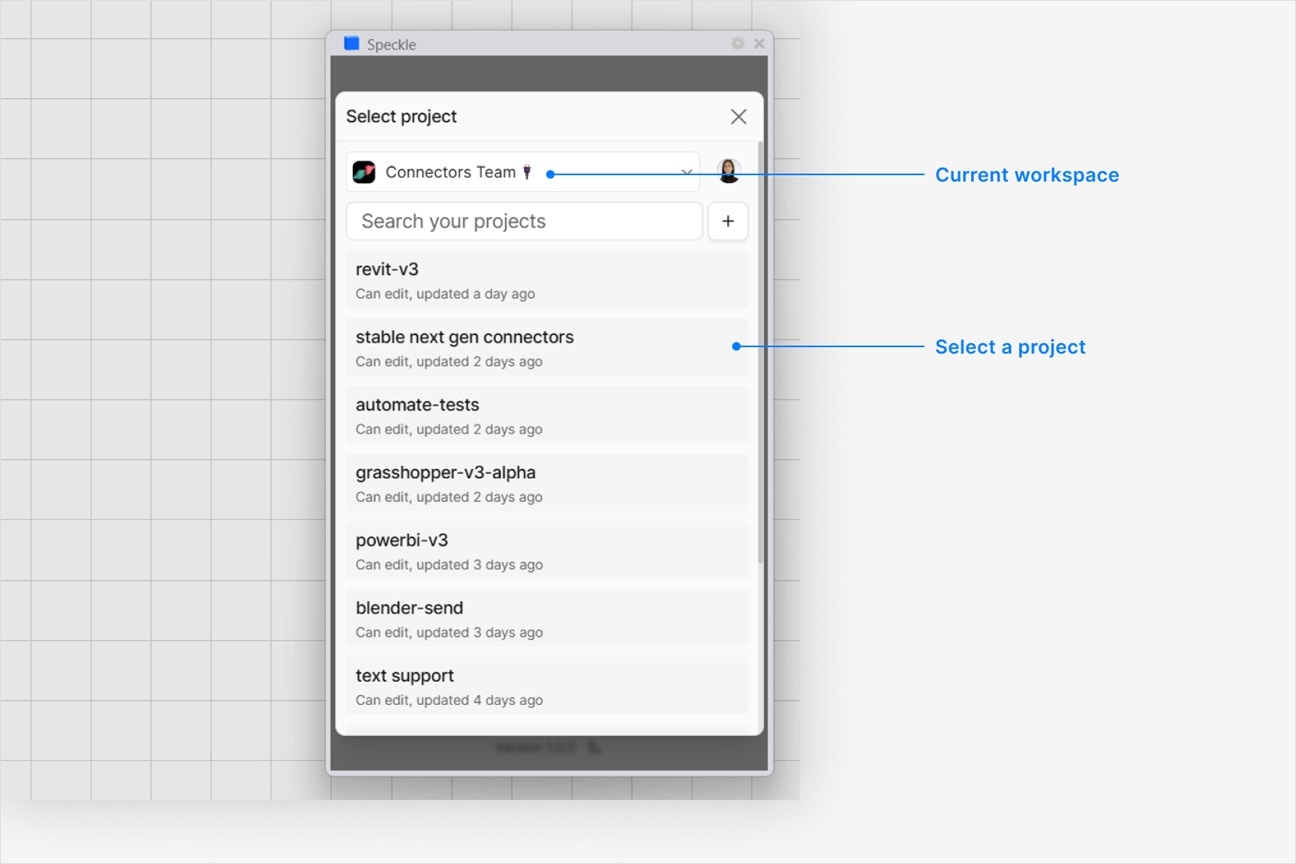
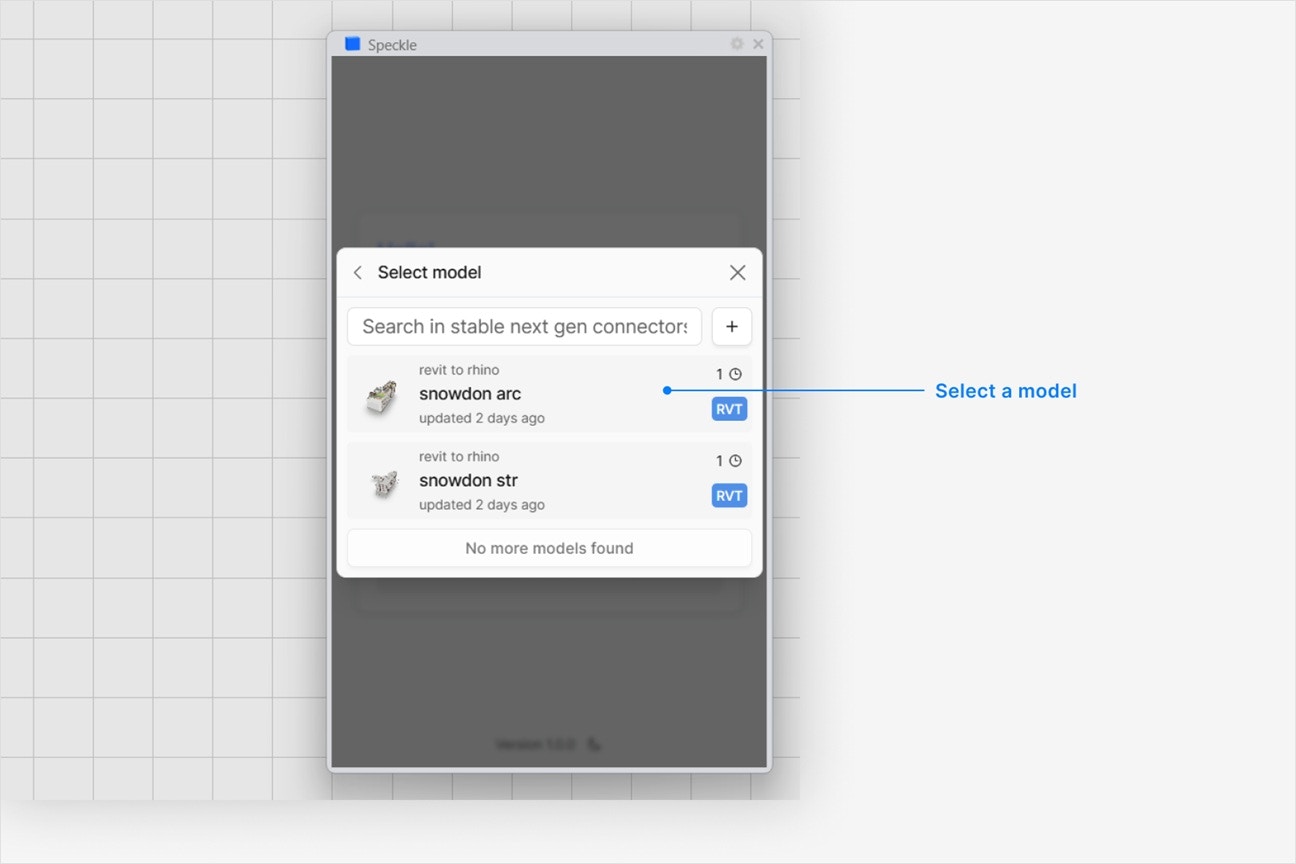
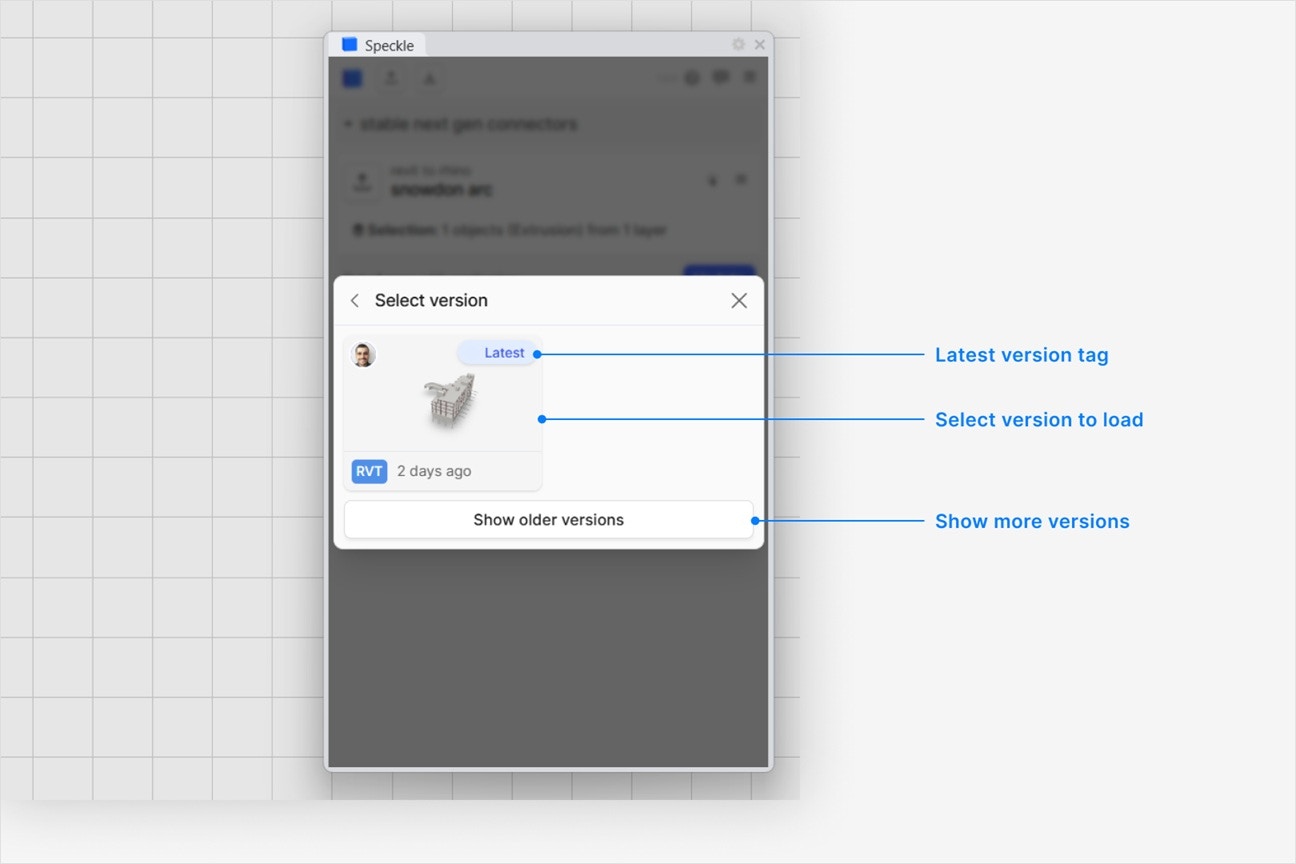
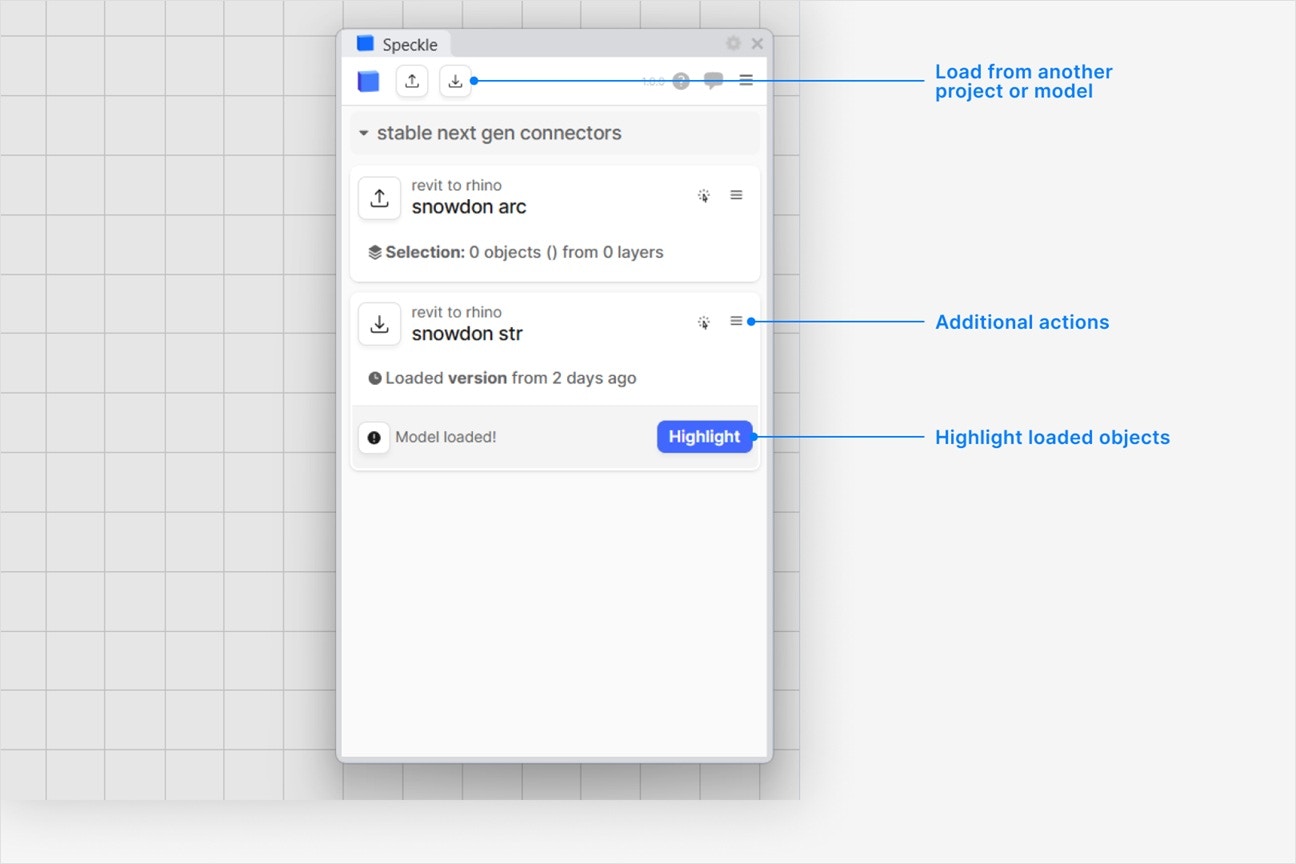
How are Speckle models loaded in Revit?
How are Speckle models loaded in Revit?
- render material (if any)
Mesh,Curve, orSolid(only from Rhino and Grasshopper) geometry.
Can I load custom properties in Revit, like parameters?
Can I load custom properties in Revit, like parameters?
How do I load a Speckle Model according to a specific reference point in Revit?
How do I load a Speckle Model according to a specific reference point in Revit?
- Expand the Settings field at the bottom of the Select objects dialog while publishing a new version.
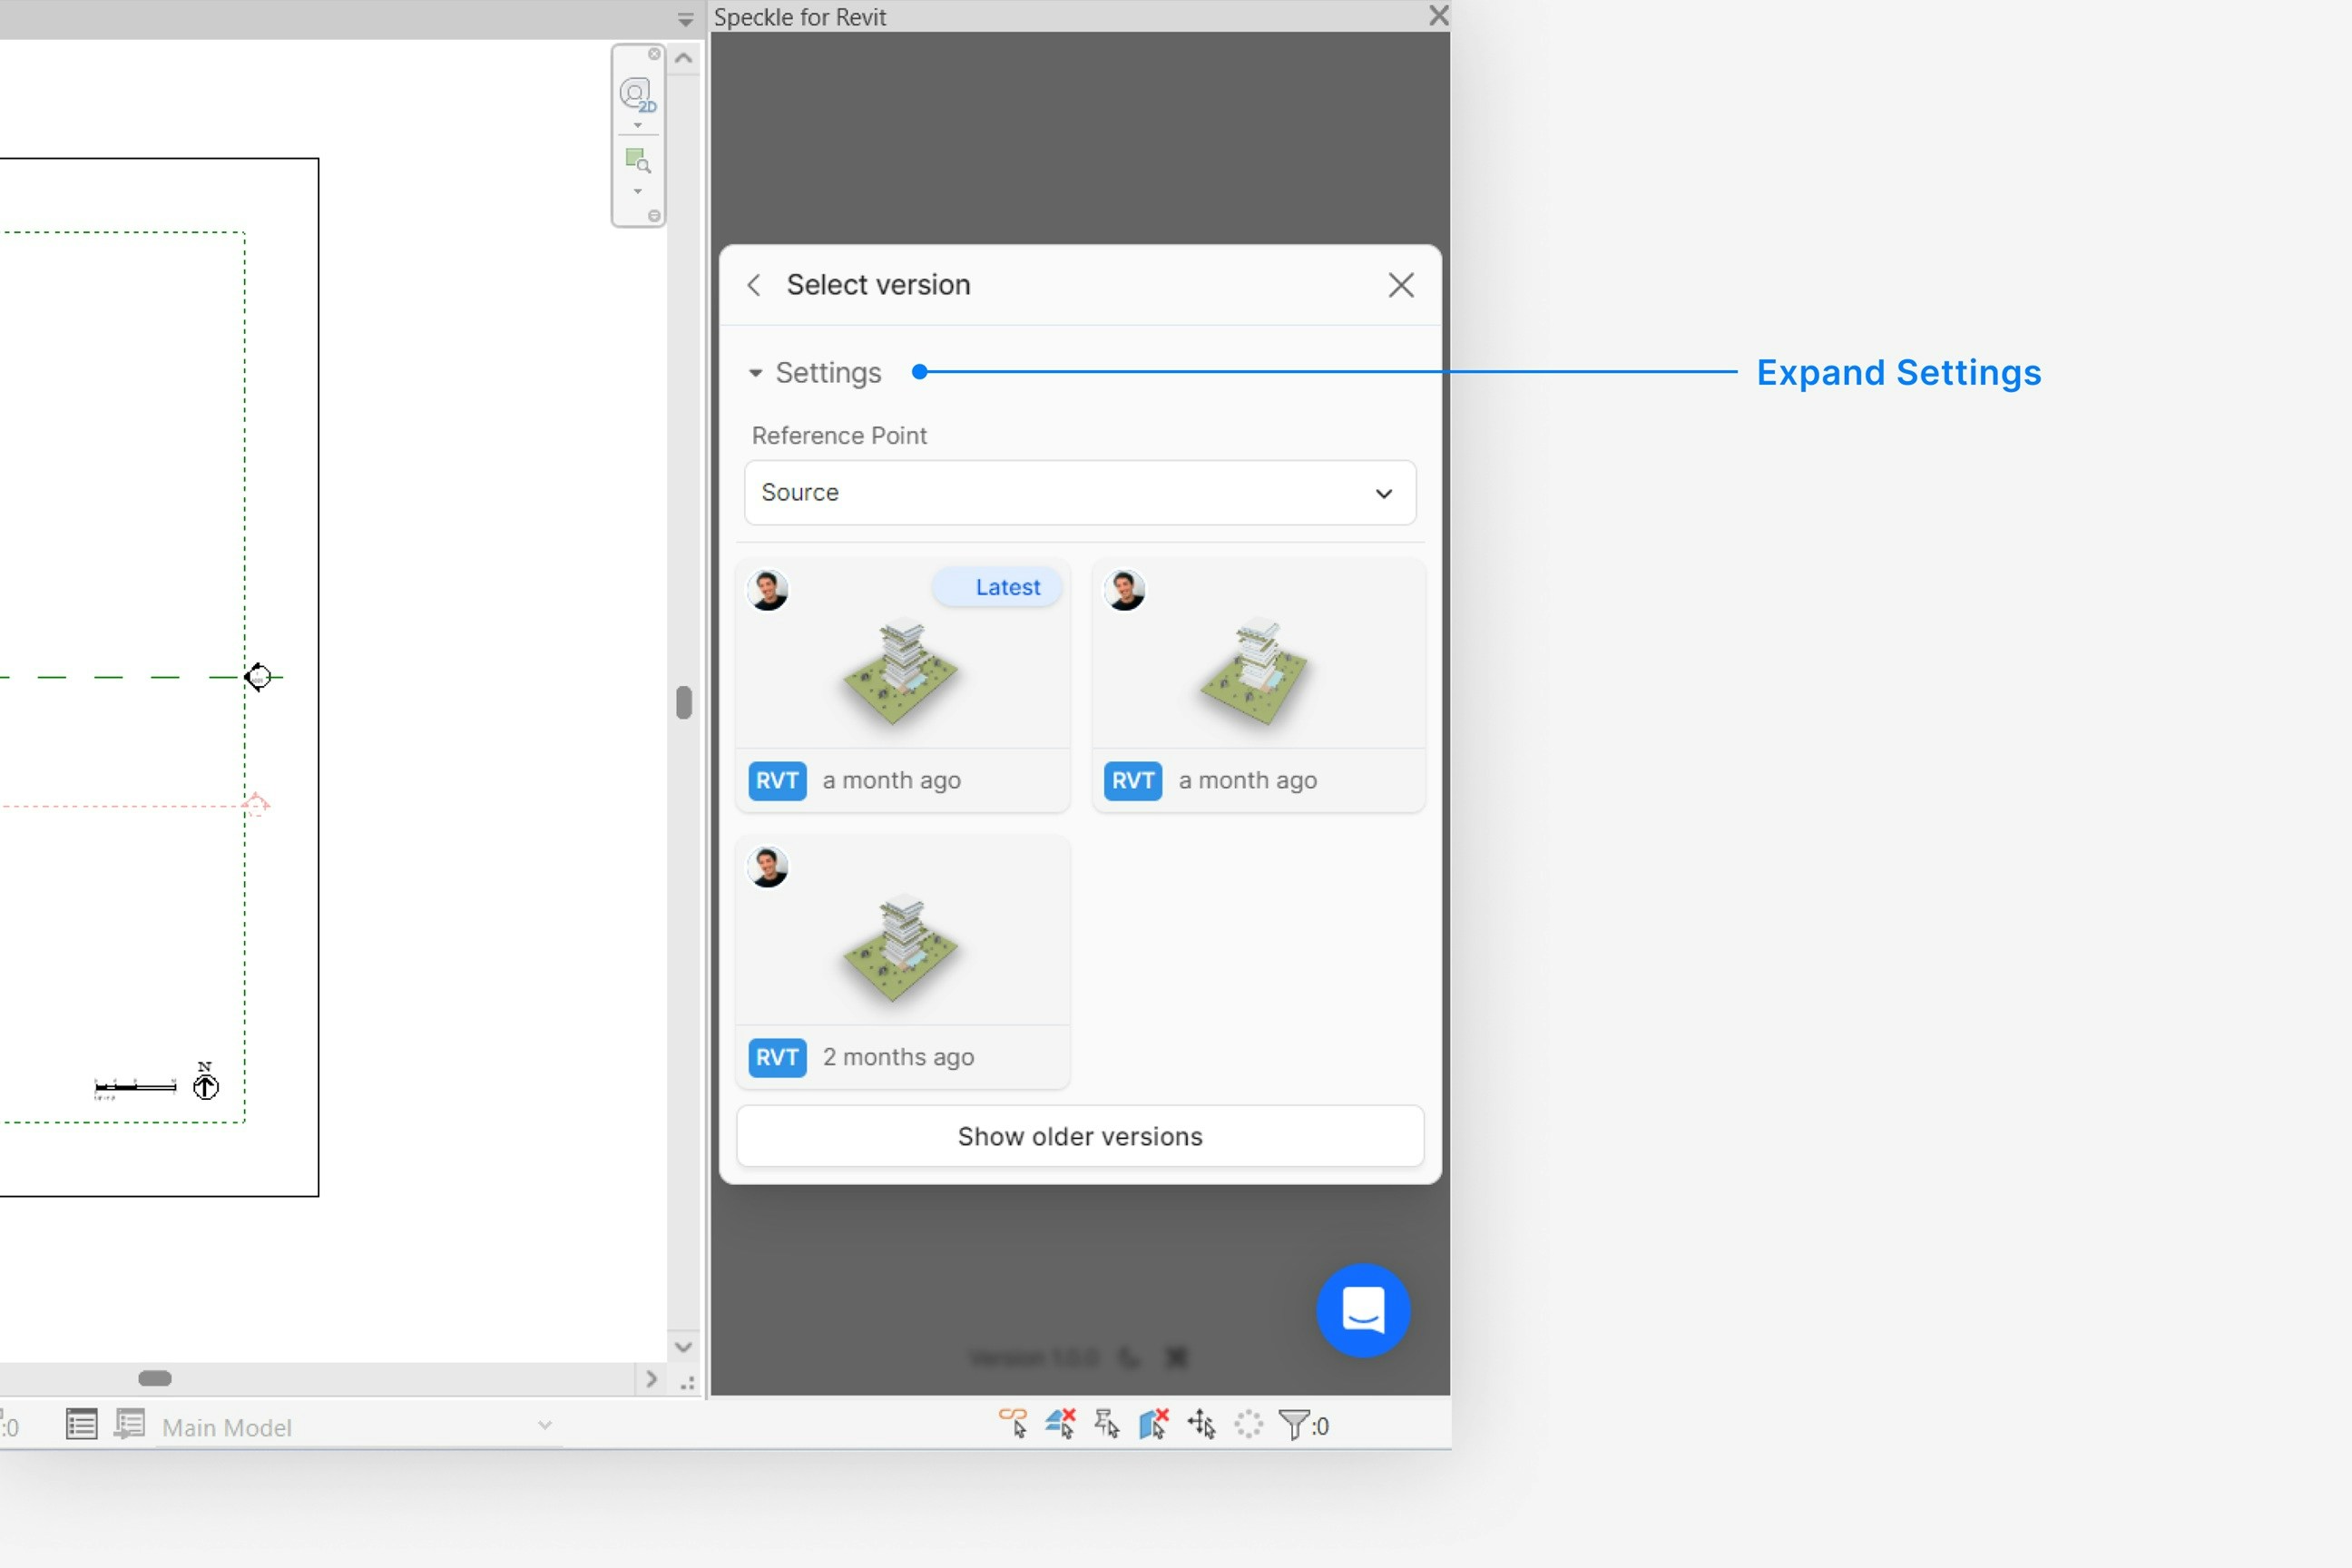
- Set the Reference Point setting to source if you want to load your model according to the incoming model coordinate system.
- Set the Reference Point setting to InternalOrigin if you want to load your model according to your current document’s internal origin.
- Set the Reference Point setting to ProjectBase if you want to load your model according to your current document’s project base point.
- Set the Reference Point setting to Survey if you want to load your model according to your current document’s survey point.
How do I change the material of a Speckle model object I loaded in Revit?
How do I change the material of a Speckle model object I loaded in Revit?
- Loaded as direct shapes from Rhino or Grasshopper: the object contains solid geometry, so you can edit the material directly on the direct shape.
- Loaded as families using Receive Blocks as Families: a material type parameter is created on each family, so you can change the material from the project without editing the family definition.
- All other cases: changing the applied material is not currently supported.
What happens when there is a material in the document with the same name?
What happens when there is a material in the document with the same name?
How do I change the category of a Speckle model object I loaded in Revit?
How do I change the category of a Speckle model object I loaded in Revit?
Are 3D views included when I load a model in Revit?
Are 3D views included when I load a model in Revit?
- If a 3D view with the same name already exists in Revit, it will be skipped and not overwritten.
- Views published from other connectors (e.g., Rhino named views) are also received as 3D views in Revit.
Why are some objects that I loaded missing from my model?
Why are some objects that I loaded missing from my model?
Are bitmap or image-based material textures supported?
Are bitmap or image-based material textures supported?
Why can't I select a project in the UI—it's disabled?
Why can't I select a project in the UI—it's disabled?
Can I load a model via URL?
Can I load a model via URL?